Realistic Home Design with AI in Coohom: Step-by-Step Guide

Hey There! Some links on InexDecor.com are affiliate links. If you make a purchase through them, we may earn a small commission at no extra cost to you. We only recommend trusted products to support our content. Thank you for your support!
Some links on InexDecor.com are affiliate links. If you make a purchase through them, we may earn a small commission at no extra cost to you.
Introduction
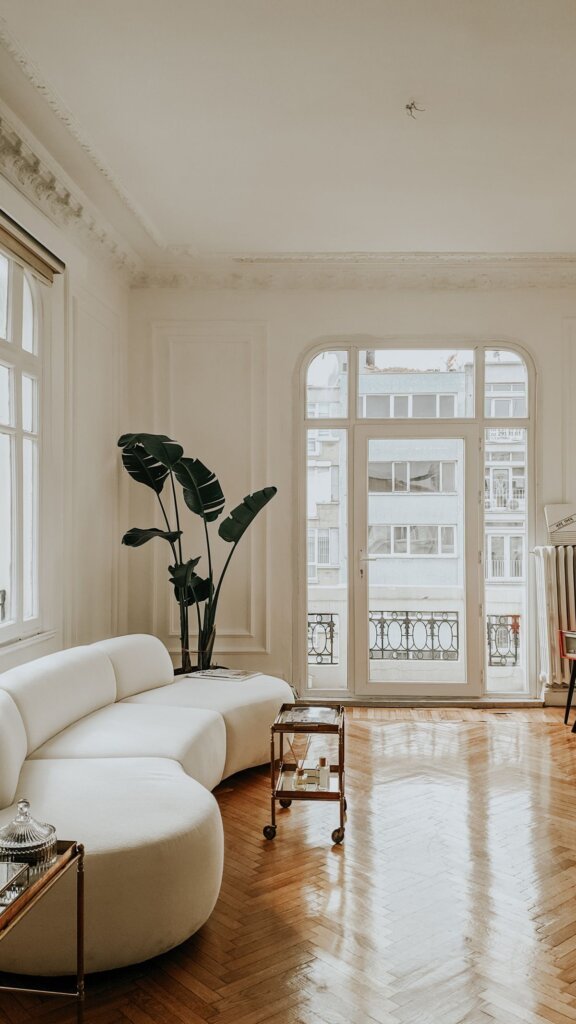
realistic home design with AI in Coohom is the fastest way to see your future home before you spend anything on it. A realistic render is not a flat drawing or a cartoon preview. It is a photograph-like image of your own rooms, with wood grain you can almost touch, linen texture on the sofa, and warm evening light falling across the floor. Most people buy furniture from a catalogue photo and discover too late that the sofa blocks the door or the colour looks cold at dusk. A realistic render removes that guesswork. You see the finished room first and buy only what the image proves will work.
Coohom is built for exactly this job: its AI design tools generate complete room designs from a short written prompt, and its rendering engine turns them into photorealistic images you can show to a builder or your family. This guide shows you the whole workflow: measuring, drawing the plan, running your first AI design, placing furniture at true size, and rendering each room in daylight and at dusk, plus the light, texture and material tips that make a render look real.
Key Takeaways
- A realistic render shows your real rooms like a photograph: wood grain, fabric texture and warm light included.
- Measure first: a render built on wrong measurements is a beautiful lie.
- Describe your home in plain words and let the AI generate two or three complete designs in minutes.
- Test every palette, material and layout in daylight and at dusk before you buy anything.
- Start free, render one room properly, and upgrade only if you need more.
Table of Contents
Introduction | Key Takeaways | What Is Realistic Home Design with AI in Coohom? | How to Create a Realistic Home Design Online. Step by Step | How to Make Your Renders Look Real: Light, Texture and Materials | 6 Realistic Home Design Ideas to Try First | Common Mistakes to Avoid | Budget Tiers | Coohom vs Planner 5D vs Homestyler | Frequently Asked Questions | Conclusion
What Is Realistic Home Design with AI in Coohom?
Realistic home design means seeing your home before you build it, not as a sketch or a flat floor plan, but as a finished room that looks like a photograph. Draw your rooms to their real measurements, describe the look you want in plain words, and let the AI generate complete designs. Then rebuild the best version in 3D and render it, so you can check whether the sofa fits, the walkway is clear, and the colour works at dusk.
Coohom suits realistic design because it combines two things in one place: AI design tools that do the creative work from a short prompt, and a rendering engine that shows wood grain, linen texture, glass reflections and warm evening light like a real photograph. Where other tools produce flat previews, Coohom renders show the small differences that decide whether a room feels calm or crowded.
The workflow is the same for every room: measure, photograph, run one AI design, rebuild the best version in 3D at true size, and render it before you buy anything. For the same method applied to a whole home, see our interior design with AI in Coohom guide and our home design tool with realistic 3D visualization and AI in Coohom guide.

How to Create a Realistic Home Design Online: Step by Step
Create a realistic home design online in one evening, in seven steps: measure first, draw second, generate third, and never skip the render at dusk.
Step 1: Measure every room, window and door
Walk through your home with a tape measure and write down each room’s length, width and ceiling height, then every window, door and fixed point: radiators, power sockets and built-in cupboards. Note which way the windows face, because light decides the colours. A plan built on guessed measurements will fail in real life.
Step 2: Photograph each room from the doorway
Stand in the doorway at eye level and photograph the whole room in daylight, curtains open and surfaces tidy, then take a second photo from the opposite corner. A straight, well-lit photo gives the AI a clean starting point: it reads the true light, the wall colour and fixed features such as a fireplace.
Step 3: Draw the floor plan in Coohom
Open Coohom and draw the walls to the exact measurements from Step 1, room by room, adding windows, doors and door swings, then the fixed points: radiators, sockets and built-ins. Draw the whole house before you add any furniture, because the walls decide where everything else can go. Fix a wrong wall now. Every later step depends on this plan.
Step 4: Run your first AI design
Open the AI design tool and describe the room in one or two sentences: style, main colours, biggest furniture, mood. For example: “Modern living room, white walls, light oak floor, low linen sofa, blue cushions, warm evening light.” Let the AI generate two or three versions and save the calmest one. For the beginner version of the same workflow, see our home design for beginners with AI in Coohom guide.
Step 5: Place furniture at true size
Rebuild the winning AI design in 3D with furniture at its real size. Place the big pieces first, bed, sofa, dining table, wardrobe, and check the walkways: 75 cm between sofa and coffee table, 60 cm beside the bed, 90 cm on the kitchen path. Leave the walkways clear before you add a side table, a lamp or a plant. This step catches crowding before you spend anything.
Step 6: Apply real materials and test the light
A realistic render needs real materials, not flat colours: a wood tone with visible grain, a fabric with texture, a matte wall and one metal accent. Test the palette in daylight and at dusk. A colour that looks fresh at noon can look cold at night. Then layer the light: daylight first, one warm ceiling light or pendant per room, and a warm task light beside the sofa or bed.
Step 7: Render, compare and make your shopping list
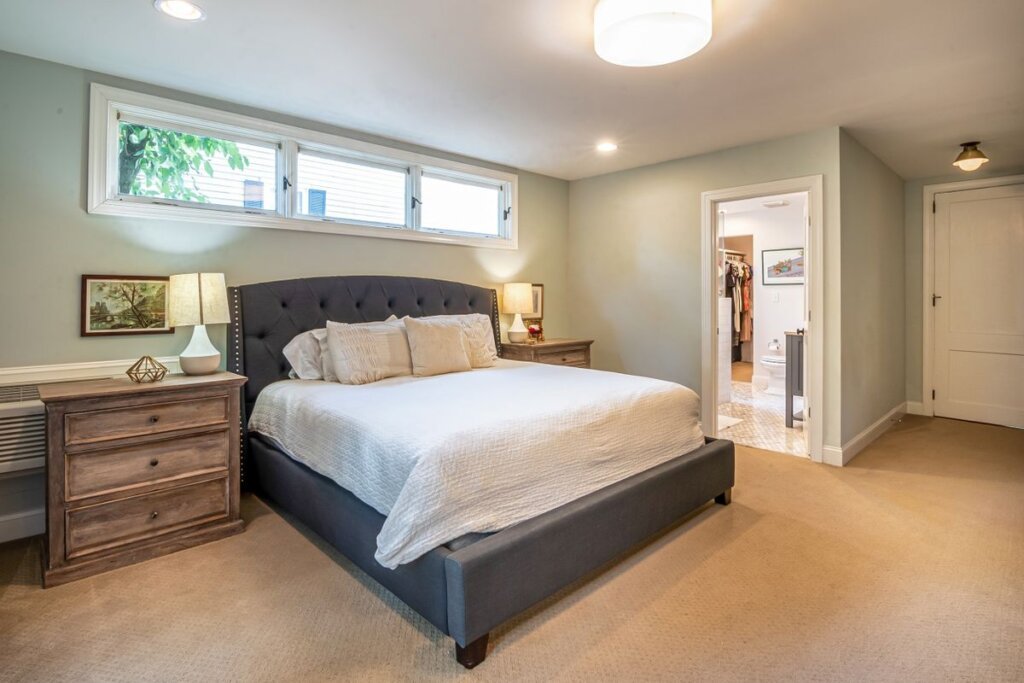
Render each room from the doorway and from the seat you will sit in, in daylight and at dusk. Check four things: a clear walkway, a calm palette, warm light at dusk, and nothing crowded. Save the renders as your shopping list and buy the big pieces first.
Try Coohom free and render your first room tonight, free.
How to Make Your Renders Look Real: Light, Texture and Materials
A realistic render is won or lost in three places: light, texture and materials. Get them right and the image looks like a photograph.
Light: render at dusk, not just at midday
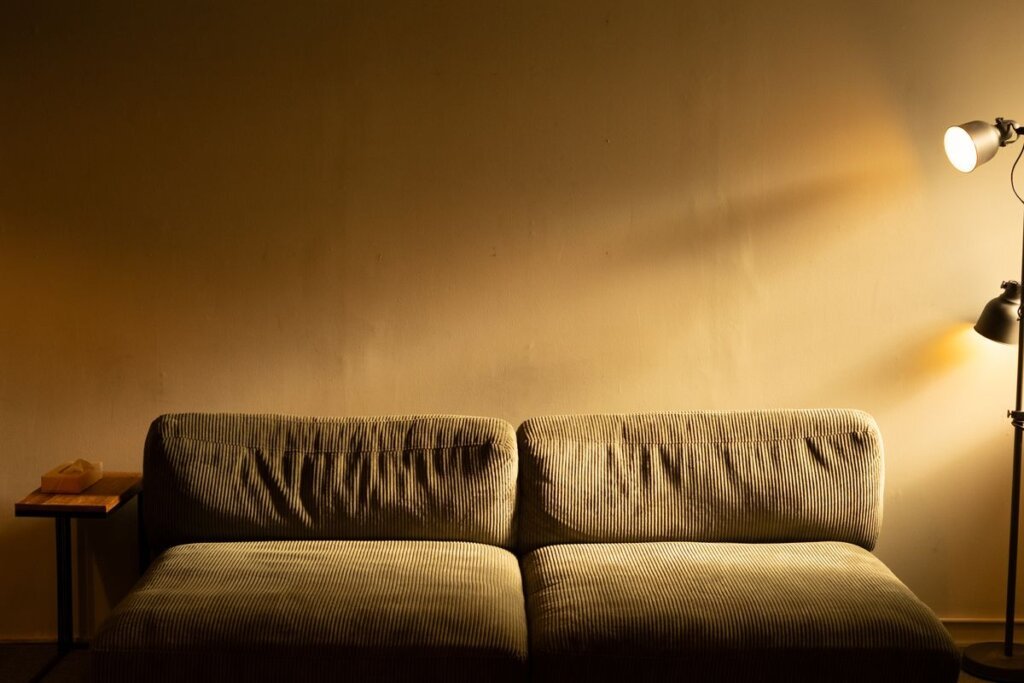
Render every room at dusk, not just at midday: a room that looks bright at noon can look grey and cold in the evening. Use three layers of light in every render, daylight through clear windows and sheer curtains, one warm ceiling light or pendant, and a warm task light beside the sofa or bed. Use warm 2700K bulbs throughout, because cool white light makes a render look like an office.
Texture: grain, weave and fabric
Flat surfaces kill realism. A wooden floor needs visible grain, a sofa needs linen or cotton texture, a rug needs a weave, and a wall needs a matte finish rather than a flat digital colour. Avoid glossy finishes on large surfaces, a glossy white wall reflects light like plastic, while a matte warm white looks like real paint.
Materials: one wood, one metal, one fabric family
Real rooms repeat a small set of materials: one wood tone, one metal finish and one fabric family, repeated in every room. Light oak with brushed brass and natural linen suits almost every home. Mixing three wood tones and two metals in one room makes the render look like a furniture catalogue, not a home.
6 Realistic Home Design Ideas to Try First
Start with one of these six ideas: cheap, fast, and visible the same day. Test each one in Coohom first, free.
1. Render your living room at dusk before you buy a sofa
A sofa is the most expensive single piece in most living rooms. Place it in 3D, add a warm floor lamp beside it, and render the room at dusk. If it looks calm and inviting in warm light, buy it; if it looks heavy or grey, change the fabric colour.
2. Test one wood tone across the whole house
Choose one wood tone. Light oak is the safest, and use it for the floor, the dining table, the bed frame and the shelves. One consistent wood makes a home feel like one place; three different woods make it feel like three different houses.
3. Swap the rug for a larger one
Most rugs are too small. The right rug sits under the front legs of the sofa and coffee table, with at least 20 cm visible on each side, and a larger flat-weave rug makes a room read as one space. The render proves the size before you buy.
4. Add one warm floor lamp per room
One warm floor lamp beside the sofa changes the evening mood completely. Choose a linen or rattan shade with a warm 2700K bulb. The render shows the glow before you spend anything.
5. Hang one large mirror opposite the window
A large mirror opposite a window doubles the light in a dark room and makes a small room feel bigger. Hang it at eye level, in the same wood tone as the rest of the room.
6. Repeat one accent colour in three places
Pick one accent: sea blue, dusty pink, sage green, and use it in three places per room: a cushion, a throw, a vase. Three repetitions feel deliberate; one feels accidental. A render makes a repeated accent look intentional.
Common Mistakes to Avoid
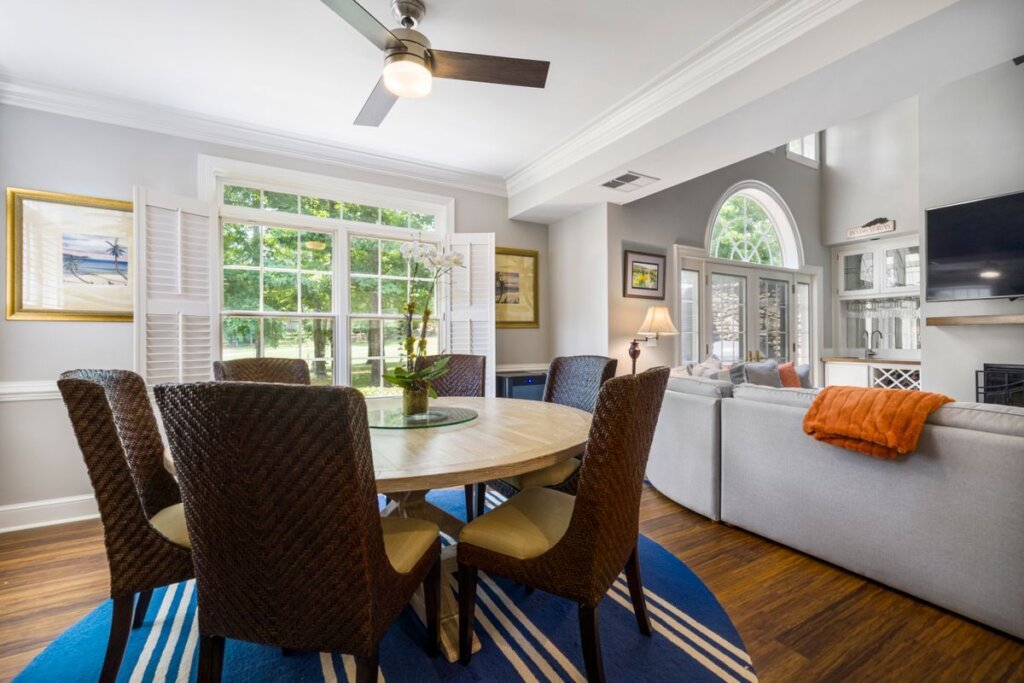
The most common mistake is judging a design only in daylight. Always render at dusk, because a colour that looks fresh at noon can look cold at night.
The second is trusting guessed measurements. Measure first, design second. The third is too much furniture: a crowded 3D view means a crowded room, so remove one piece and render again. The fourth is cool white light. Use warm 2700K throughout, or the render will look like an office. The fifth is mixing too many materials: one wood, one metal, one fabric family per home. The sixth is ignoring the walkways.
Budget Tiers
Budget (under about $150 per room): A flat-weave rug, warm 2700K bulbs, a sheer curtain and one plant, this tier changes the feeling of a room without touching the furniture, and a render proves it in minutes.
Mid-range (about $150–$600 per room): Add a floor lamp, a mirror, a low bench or console, and paint in warm white or your accent colour: the sweet spot, tested in a render before you spend. For the same three-tier thinking in a bedroom, see our bedroom design with AI in Coohom guide.
Full change ($600–$1,500+ per room): A low sofa or bed frame in the right wood tone, a large rug, a flat-front wardrobe, and matching textiles. Test the design in Coohom first. For a new house, see our new house design ideas with AI in Coohom guide.
Coohom vs Planner 5D vs Homestyler for Realistic Design
| Feature | Coohom | Planner 5D | Homestyler |
|---|---|---|---|
| Best for realistic design | Photorealistic renders | Accurate floor plans | Fast photo restyles |
| Starting point | Draw a plan or import a model | Draw the plan to scale | Upload a room photo |
| AI tools | AI design and rendering tools | AI Studio, Smart Wizard | AI Styler, Spark, AI Planner |
| Rendering | Very photorealistic | Good, 4K on paid plans | Good, fast renders |
| Ease of use | Easy, with more pro options | Easy once drawn | Very easy to start |
| Free plan | Core tools | Core design tools | AI restyles |
| Try it | Coohom | Planner 5D | Homestyler |
Coohom wins when the render itself is the decision: photorealistic images that show texture, light and shadow like a photograph. Planner 5D suits homes where every centimetre matters. Homestyler is fastest for testing a style from a photo.
Frequently Asked Questions
Can I create a realistic home design online for free?
Yes, Coohom has a free plan that covers floor plans, basic 3D design and standard renders. You can draw a real home, place furniture to scale, test palettes and lighting, and create useful photorealistic views without paying. Paid plans add higher-quality renders and premium furniture. Start free, render one room properly, and upgrade only if you need more renders or higher quality.
How do I make my AI renders look more realistic?
Use real materials with texture, warm light, and a consistent palette. Choose a wood tone with visible grain, a fabric with weave, and a matte wall finish, then render every room at dusk with warm 2700K lighting. Keep one wood, one metal and one fabric family across the house. The dusk render is the biggest improvement: a room that glows warm looks real, while one lit only at midday looks flat.
Do I need measurements to create a realistic home design?
Yes, measurements are what make a design realistic instead of merely pretty. A photo alone is enough for a first AI design, but the 3D rebuild needs real numbers, because a bed ten centimetres too long blocks a walkway and a table too wide leaves no room for the chairs. Measure each room once and keep the numbers in one place.
How long does it take to design a realistic home with AI?
One room takes about an hour from measuring to finished render: ten minutes to measure and photograph, ten minutes for the AI design, twenty minutes to rebuild it in 3D, and twenty minutes to test the materials, palette and lighting. A whole home takes a few evenings, one room at a time. The slow part is deciding what you like, and realistic renders make that choice fast. Compare two versions and keep the calmer one.
Which AI tool gives the most realistic renders?
Coohom gives the most photorealistic renders of the three main tools, because its rendering engine shows wood grain, fabric texture, glass reflections and warm evening light like a photograph. Planner 5D is better for exact measurements, and Homestyler is faster for a quick photo restyle. Try the free plan of each and keep the one whose renders look most real to you.
Can I use a realistic render to talk to a builder or carpenter?
Yes. Share the floor plan with real measurements and the photorealistic renders with your builder, painter or carpenter, so everyone sees the same design. A realistic render removes misunderstandings: the builder sees the wall colour, the carpenter sees the wardrobe size, and you see the finished room before anyone starts work. Bring the renders to every meeting, because a picture ends arguments faster than a description ever will.
Conclusion
realistic home design with AI in Coohom turns the hardest part of designing a home. Knowing whether it will actually look good, into the easiest part: measure your rooms, draw the plan, let the AI generate a few designs, and render the winner in daylight and at dusk before you spend anything. Keep the palette pale, the wood light, the materials real and the lighting warm.
Start with one room tonight: measure it, draw it, render it. Your home does not need to be bigger. It needs a plan, a palette and one good light, proven in a render that looks like a photograph.
Try Coohom free. Create your realistic home design online and see the finished room in minutes, free.

My name is Mahi Uddin, and I’m a blog writer with over two years of experience specializing in creating engaging, informative content using AI tools. I contribute to InExDecor.com, where I share creative ideas and practical tips for transforming interior and exterior spaces into beautiful, functional environments. With a passion for storytelling and a knack for blending creativity with technology, I strive to craft blogs that not only inform but also inspire readers. When I’m not writing, you can find me exploring design trends or enjoying a good book with a cup of coffee.