Installing outdoor low voltage landscape lighting is easier than you think. It enhances your yard and adds safety at night.
Outdoor lighting can transform your garden into a beautiful, serene space. It not only highlights your favorite plants and trees but also adds a layer of security. Low voltage lights are safe and energy-efficient, making them a popular choice for homeowners.
This guide will walk you through the steps to install these lights yourself. You’ll learn what tools you need, how to plan your layout, and the best practices for installation. By the end, you’ll have a stunning, well-lit landscape that you can enjoy every evening. Let’s get started on making your outdoor space shine!

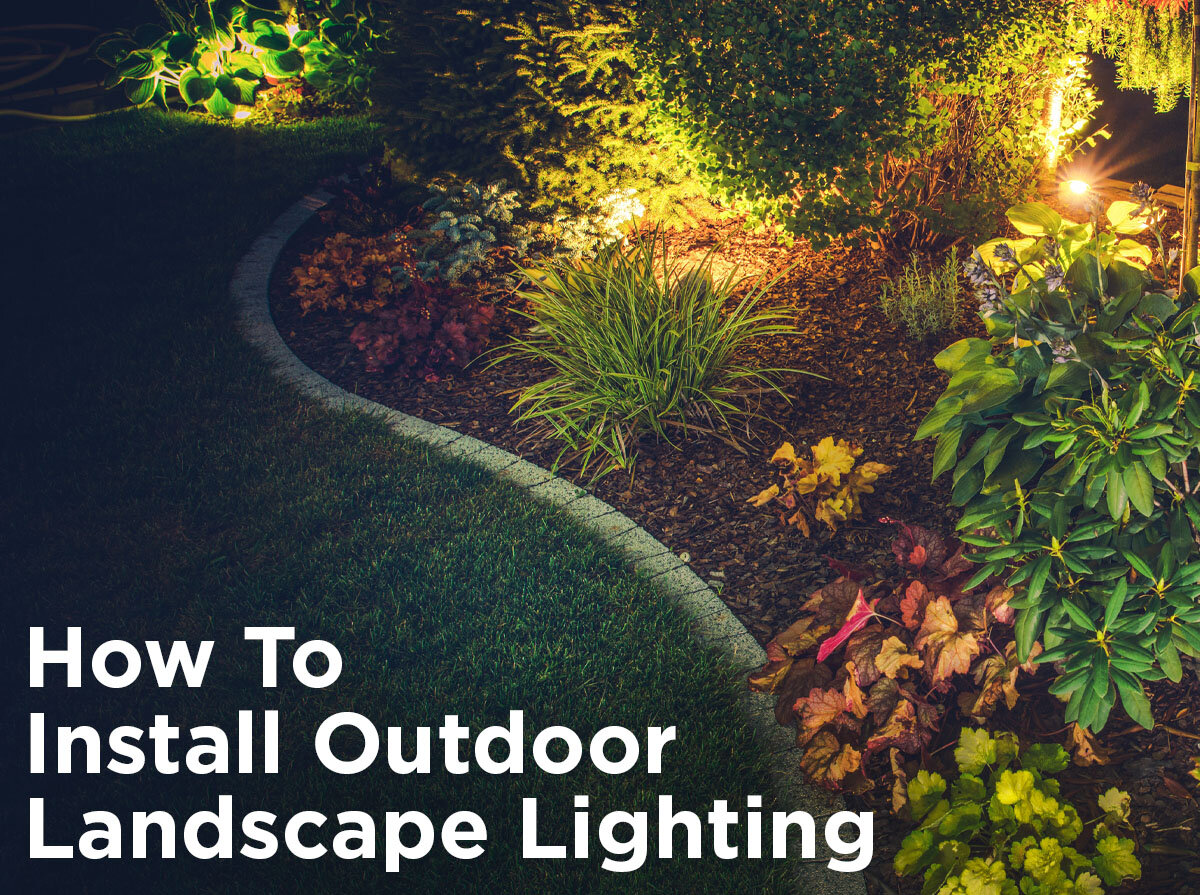
Credit: blog.1000bulbs.com
Introduction To Low Voltage Lighting
Low voltage landscape lighting enhances the beauty of your outdoor space. It provides a safe and energy-efficient way to illuminate pathways, gardens, and other areas. This type of lighting operates on a low voltage system, usually 12 volts, making it safer to install and maintain. In this section, we will explore the benefits and ideal locations for installing low voltage lighting.
Benefits Of Low Voltage Lighting
Low voltage lighting is energy-efficient. It consumes less electricity, reducing your power bill. The lower voltage also ensures a longer lifespan for the bulbs. It’s safer for households with children and pets. The risk of electrical shock is significantly lower. Easy to install, it does not require extensive electrical knowledge.
Ideal Locations For Installation
Pathways are perfect for low voltage lighting. It illuminates walkways, ensuring safety at night. Gardens benefit greatly too. Highlight specific plants or features for aesthetic appeal. Patios and decks can also be enhanced. Create a warm, inviting atmosphere for outdoor gatherings. Water features like ponds or fountains become focal points with lighting. It adds drama and elegance to your landscape.
How to Install Outdoor Low Voltage Landscape Lighting: 6 Pro Tips
1. Planning Your Lighting Layout
Planning your lighting layout is a crucial step in installing outdoor low voltage landscape lighting. A well-thought-out layout not only enhances the beauty of your yard but also ensures safety and functionality. Let’s dive into how you can effectively plan your lighting layout.
Assessing Your Outdoor Space
Start by examining your yard. Walk around and take notes. Identify key areas you want to illuminate. These may include pathways, trees, or garden beds. Look for dark spots that need lighting for safety. Consider the architectural features you wish to highlight. Make a rough sketch of your yard to visualize your plan.
Designing A Lighting Plan
Next, create a detailed lighting plan. Decide on the type of lights you need. Path lights for walkways. Spotlights for highlighting trees. Floodlights for wider areas. Determine the number of fixtures required. Ensure they are evenly spaced. Avoid overcrowding an area with too many lights. Select fixtures that match your yard’s style.
Think about the wiring layout. Plan how you’ll connect the lights to the transformer. Ensure the wiring is hidden and safe. Mark the locations on your sketch. This will help during installation. Take your time to refine the plan. A good plan makes installation easier and more effective.
2. Gathering Necessary Tools And Materials
Before starting your outdoor low voltage landscape lighting project, you need the right tools and materials. Being prepared ensures a smooth and efficient installation process. This guide will help you gather everything you need.
Essential Tools List
Here are the essential tools you will need for installing outdoor low voltage landscape lighting:
- Wire Strippers: Used for stripping the insulation from wires.
- Shovel or Trowel: Helps in digging trenches for burying cables.
- Screwdrivers: Both flathead and Phillips for various screws.
- Voltage Tester: Ensures the system is safe and functioning.
- Measuring Tape: Measures distances accurately for light placement.
- Pliers: Useful for gripping and bending wires.
- Drill: Required for mounting lights on hard surfaces.
- Level: Ensures lights are installed straight.
Required Materials
Gather the following materials before you start your project:
- Low Voltage Lights: Choose lights suitable for your landscape.
- Low Voltage Transformer: Converts household voltage to low voltage.
- Low Voltage Cable: Supplies power to the lights from the transformer.
- Connectors: Connect wires securely and safely.
- Weatherproof Junction Boxes: Protect connections from the elements.
- Light Stakes or Mounting Hardware: Secure lights in the ground or on surfaces.
- Wire Nuts: Secure wire connections and prevent short circuits.
- Electrical Tape: Insulates and secures wire connections.
| Tool | Purpose |
|---|---|
| Wire Strippers | Strip insulation from wires |
| Shovel or Trowel | Dig trenches for cables |
| Screwdrivers | Drive screws |
| Voltage Tester | Test system voltage |
| Measuring Tape | Measure distances |
| Pliers | Grip and bend wires |
| Drill | Mount lights |
| Level | Ensure straight installation |
3. Preparing The Installation Site
Before installing outdoor low voltage landscape lighting, prepare the installation site properly. This step ensures the lights function well and look great. Follow these simple steps to get started.
Marking Light Positions
First, decide where you want to place your lights. Use small flags or stakes to mark each spot. These markers help you visualize the final layout. They also guide you during the next steps.
Consider the purpose of each light. Some lights highlight pathways. Others illuminate garden features or trees. Think about how the light will fall and avoid shadows. This planning ensures a balanced and effective lighting setup.
Digging Trenches For Cables
Once the light positions are marked, it’s time to dig trenches for the cables. Use a spade or trenching tool to create shallow trenches. Aim for a depth of about 6 inches. This depth protects the cables while keeping them accessible.
Keep the trenches straight and avoid sharp turns. Curved paths can make cable installation tricky. Lay the cables in the trenches carefully. Ensure the cables are not twisted or kinked. This step is crucial for a smooth installation process.
4. Installing Transformer And Timer
Installing a transformer and timer is a crucial step in setting up outdoor low voltage landscape lighting. This step ensures your lights operate safely and efficiently. Below, we will guide you through choosing the right transformer and setting up the timer for your lighting system.
Choosing The Right Transformer
The transformer converts high voltage electricity to low voltage. This is essential for safe and efficient operation of your landscape lighting.
Here are some tips for choosing the right transformer:
- Calculate Total Wattage: Add up the wattage of all your lights. Ensure the total wattage does not exceed 80% of the transformer’s capacity.
- Consider Future Additions: Choose a transformer with extra capacity if you plan to add more lights later.
- Check for Safety Features: Look for transformers with built-in circuit breakers to prevent overloads.
Setting Up The Timer
Setting up a timer ensures your lights turn on and off at your desired times. This adds convenience and saves energy.
Follow these steps to set up your timer:
- Locate the Timer: Most transformers have a built-in timer. Locate it on your transformer.
- Set the Current Time: Adjust the timer to the current time using the dial or digital display.
- Program On and Off Times: Set the desired on and off times. This might be at dusk and dawn.
- Test the Timer: Ensure the timer activates the lights at the programmed times.
Setting the timer correctly ensures your landscape lighting operates efficiently. This makes your outdoor space welcoming and safe.
5. Connecting And Placing Lights
Installing outdoor low voltage landscape lighting can transform your yard. It adds charm, security, and functionality. One of the key steps is connecting and placing lights. This ensures they illuminate your garden effectively.
Connecting Lights To Cables
Start by laying out your light fixtures. Decide where each light will go. Measure the distance between fixtures. Cut your low-voltage cable to match the distance. Strip the ends of the cable. Attach connectors to each end. Make sure the connections are tight. Loose connections can cause lights to flicker.
Next, connect the fixtures to the cable. Most lights come with easy-to-use connectors. These snap onto the cable. Check the manufacturer’s instructions for specifics. Once connected, test the lights. Plug the cable into a power pack. Turn on the power. Ensure each light works properly. If a light does not turn on, check your connections.
Positioning Lights In The Landscape
Place each light in its desired spot. Consider the purpose of each light. Path lights should line walkways. Spotlights can highlight trees or garden features. Avoid placing lights in direct lines. Stagger them for a natural look. Make sure lights do not shine into windows. This can cause glare inside your home.
Bury the cable to keep it hidden. Use a garden spade to create a shallow trench. Lay the cable in the trench. Cover it with soil. This keeps your yard looking tidy. Test the lights again after placement. Ensure everything works as planned. Adjust the position if needed. Enjoy your beautifully lit landscape.
6. Testing And Adjusting The System
Testing and adjusting the system is the final step in installing your outdoor low voltage landscape lighting. This step ensures everything works correctly and the lighting looks perfect. Let’s dive into the key aspects of this process.
Checking All Connections
First, check all connections. Ensure all wires are tight and secure. Loose connections can cause flickering or outages. Inspect each fixture and transformer. Make sure all components are connected properly.
Turn on the system. Check if every light functions. If any light doesn’t work, recheck the connections. A small adjustment can fix the issue. This step is crucial for a reliable lighting system.
Adjusting Light Angles
Next, adjust light angles. Proper angles enhance the beauty of your landscape. Use a screwdriver to adjust the fixtures. Aim the lights to highlight plants, trees, and pathways.
Experiment with different angles. See what looks best. Make sure the lights do not shine directly into windows or into your neighbor’s yard. Adjust until the lighting looks balanced and natural.
Credit: blog.1000bulbs.com

Credit: www.youtube.com
Frequently Asked Questions
What Tools Are Needed To Install Low Voltage Landscape Lighting?
You need a transformer, low voltage wire, wire strippers, and a screwdriver. Basic tools.
How Deep Should I Bury Low Voltage Landscape Lighting Wire?
Bury the wire at least 6 inches deep to protect it.
Can I Install Low Voltage Landscape Lighting Myself?
Yes, it’s a simple DIY project. Follow the instructions carefully.
How Do I Choose The Right Transformer For My Lights?
Add up the wattage of all lights. Choose a transformer with slightly higher capacity.
How Do I Connect The Lights To The Transformer?
Use wire connectors. Connect the wires from lights to the main low voltage wire.
Conclusion
Outdoor low voltage landscape lighting enhances your yard’s beauty. It’s easy to install with the right tools and steps. Start by planning your layout and gathering materials. Follow the instructions carefully for a safe setup. Enjoy the warm glow and improved safety.
Your outdoor space will look more inviting. With practice, you’ll get better at it. Now, you can confidently light up your garden. Happy lighting!

My name is Mahi Uddin, and I’m a blog writer with over two years of experience specializing in creating engaging, informative content using AI tools. I contribute to InExDecor.com, where I share creative ideas and practical tips for transforming interior and exterior spaces into beautiful, functional environments. With a passion for storytelling and a knack for blending creativity with technology, I strive to craft blogs that not only inform but also inspire readers. When I’m not writing, you can find me exploring design trends or enjoying a good book with a cup of coffee.