Installing outdoor lighting can transform your yard. It adds beauty and safety.
Outdoor lighting highlights your landscape and keeps your home secure. Ready to light up your outdoor space? Installing outdoor lighting may seem daunting, but it’s simpler than you think. With the right tools and a bit of patience, you can do it yourself.
This guide will walk you through the process, step-by-step. Learn how to choose the right lights, plan your layout, and handle wiring safely. Whether you’re lighting a garden path or spotlighting a tree, these tips will help you create a stunning outdoor space. Let’s get started on making your yard shine!
7-Step Guide: How to Install Outdoor Lighting
1. Planning Your Outdoor Lighting
Planning your outdoor lighting is a crucial step. It ensures you create a safe, inviting, and beautiful outdoor space. This guide will help you with every step of the process, from assessing your space to choosing the right fixtures.
Assessing Your Space
First, assess your outdoor space. Walk around your yard during the evening. Identify areas that need lighting for safety. Look for dark pathways, steps, and entryways.
Next, consider the aesthetics. Which areas do you want to highlight? Think about garden beds, trees, and architectural features. Make a list of these areas.
Consider the function of each space. Do you need bright lights for a patio? Soft lights for a garden? Define the purpose of lighting in each area. This will help you choose the right fixtures later.
Choosing The Right Fixtures
Choosing the right fixtures is essential. There are various types available, each serving different purposes. Here are some common options:
- Path lights: Ideal for lighting walkways and garden paths.
- Spotlights: Perfect for highlighting trees and architectural features.
- Floodlights: Provide broad, intense light for large areas.
- Deck lights: Designed for mounting on decks and patios.
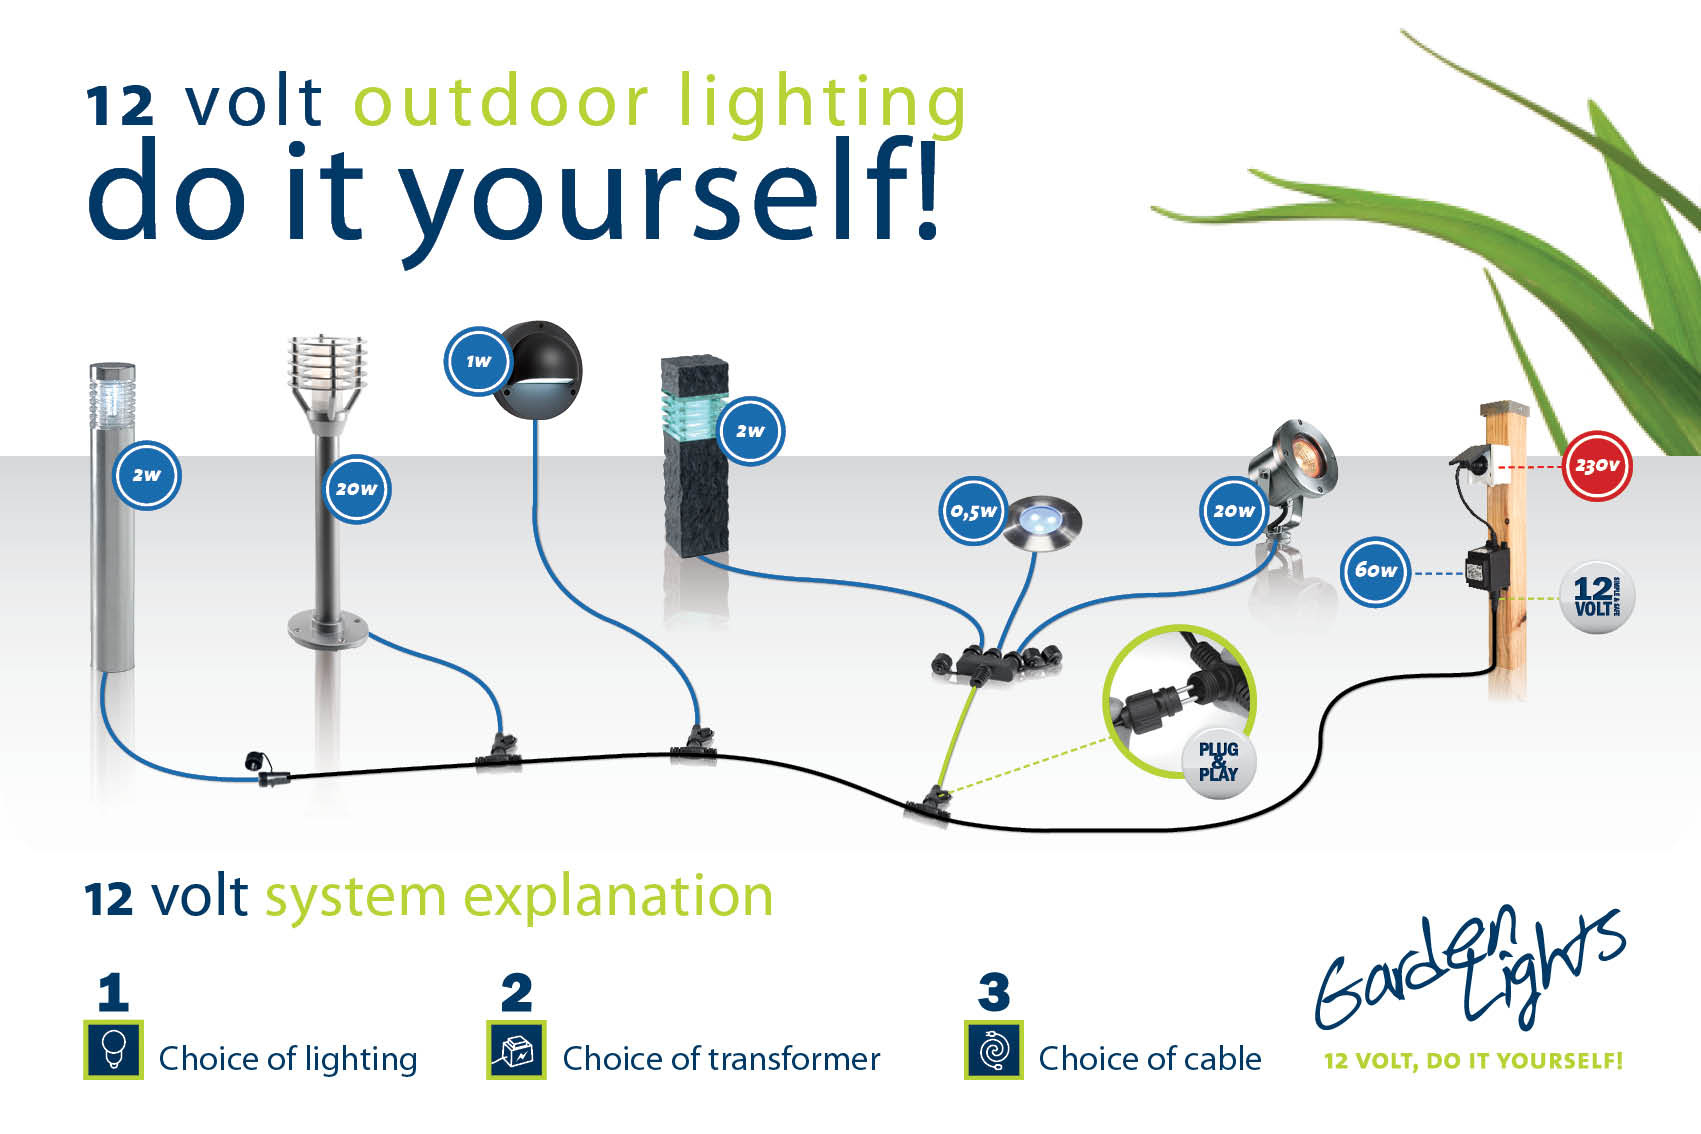
Consider the style of your home and garden. Choose fixtures that complement your outdoor decor. Also, look for energy-efficient options. LED lights are a great choice.
Use a combination of different fixtures. This creates layers of light and enhances the beauty of your space. Make sure to check the voltage requirements of each fixture. This ensures they are compatible with your electrical system.
Here’s a quick reference table to help you choose the right fixture:
| Type of Fixture | Best For |
|---|---|
| Path Lights | Walkways, Garden Paths |
| Spotlights | Trees, Architectural Features |
| Floodlights | Large Areas |
| Deck Lights | Decks, Patios |
2. Gathering Necessary Tools
Gathering the right tools is crucial before installing outdoor lighting. Proper preparation ensures the process is smooth and efficient. You’ll need specific items to get the job done right. Let’s dive into the essential tools and safety gear required.
Essential Tools Checklist
Make sure you have these tools on hand:
- Screwdrivers: Both flathead and Phillips are necessary.
- Drill: A power drill with various bits.
- Wire Strippers: Essential for handling electrical wires.
- Voltage Tester: Ensures the power is off before you start.
- Measuring Tape: Helps with accurate placement.
- Utility Knife: Useful for cutting insulation and other materials.
- Level: Ensures your lights are straight and aligned.
- Extension Cord: Provides power to your tools if outlets are far.
Safety Gear Requirements
Safety is a top priority during installation. Wear these items to protect yourself:
- Safety Glasses: Protect your eyes from debris.
- Gloves: Insulated gloves are best for electrical work.
- Hard Hat: Guards against falling objects.
- Ear Protection: Use earplugs if using loud tools.
- Work Boots: Steel-toed boots for foot protection.
- Mask: Protects against dust and particles.
3. Preparing The Installation Area
Preparing the installation area is a crucial step in setting up outdoor lighting. It ensures a smooth process and a safe environment. Follow these steps to get your area ready for installation.
Cleaning The Area
Start by removing debris and dirt. Clear away leaves, branches, and rocks. This makes it easier to see where you are working. Use a broom or a leaf blower for larger areas. Make sure the ground is even. This will help your lights sit correctly and securely.
Marking Fixture Locations
Decide where you want each light to go. Use a measuring tape to keep distances uniform. Mark the spots with chalk or stakes. This helps you visualize the layout before you start digging. Double-check your marks to ensure they align with your lighting plan.
Credit: www.gardenreet.com
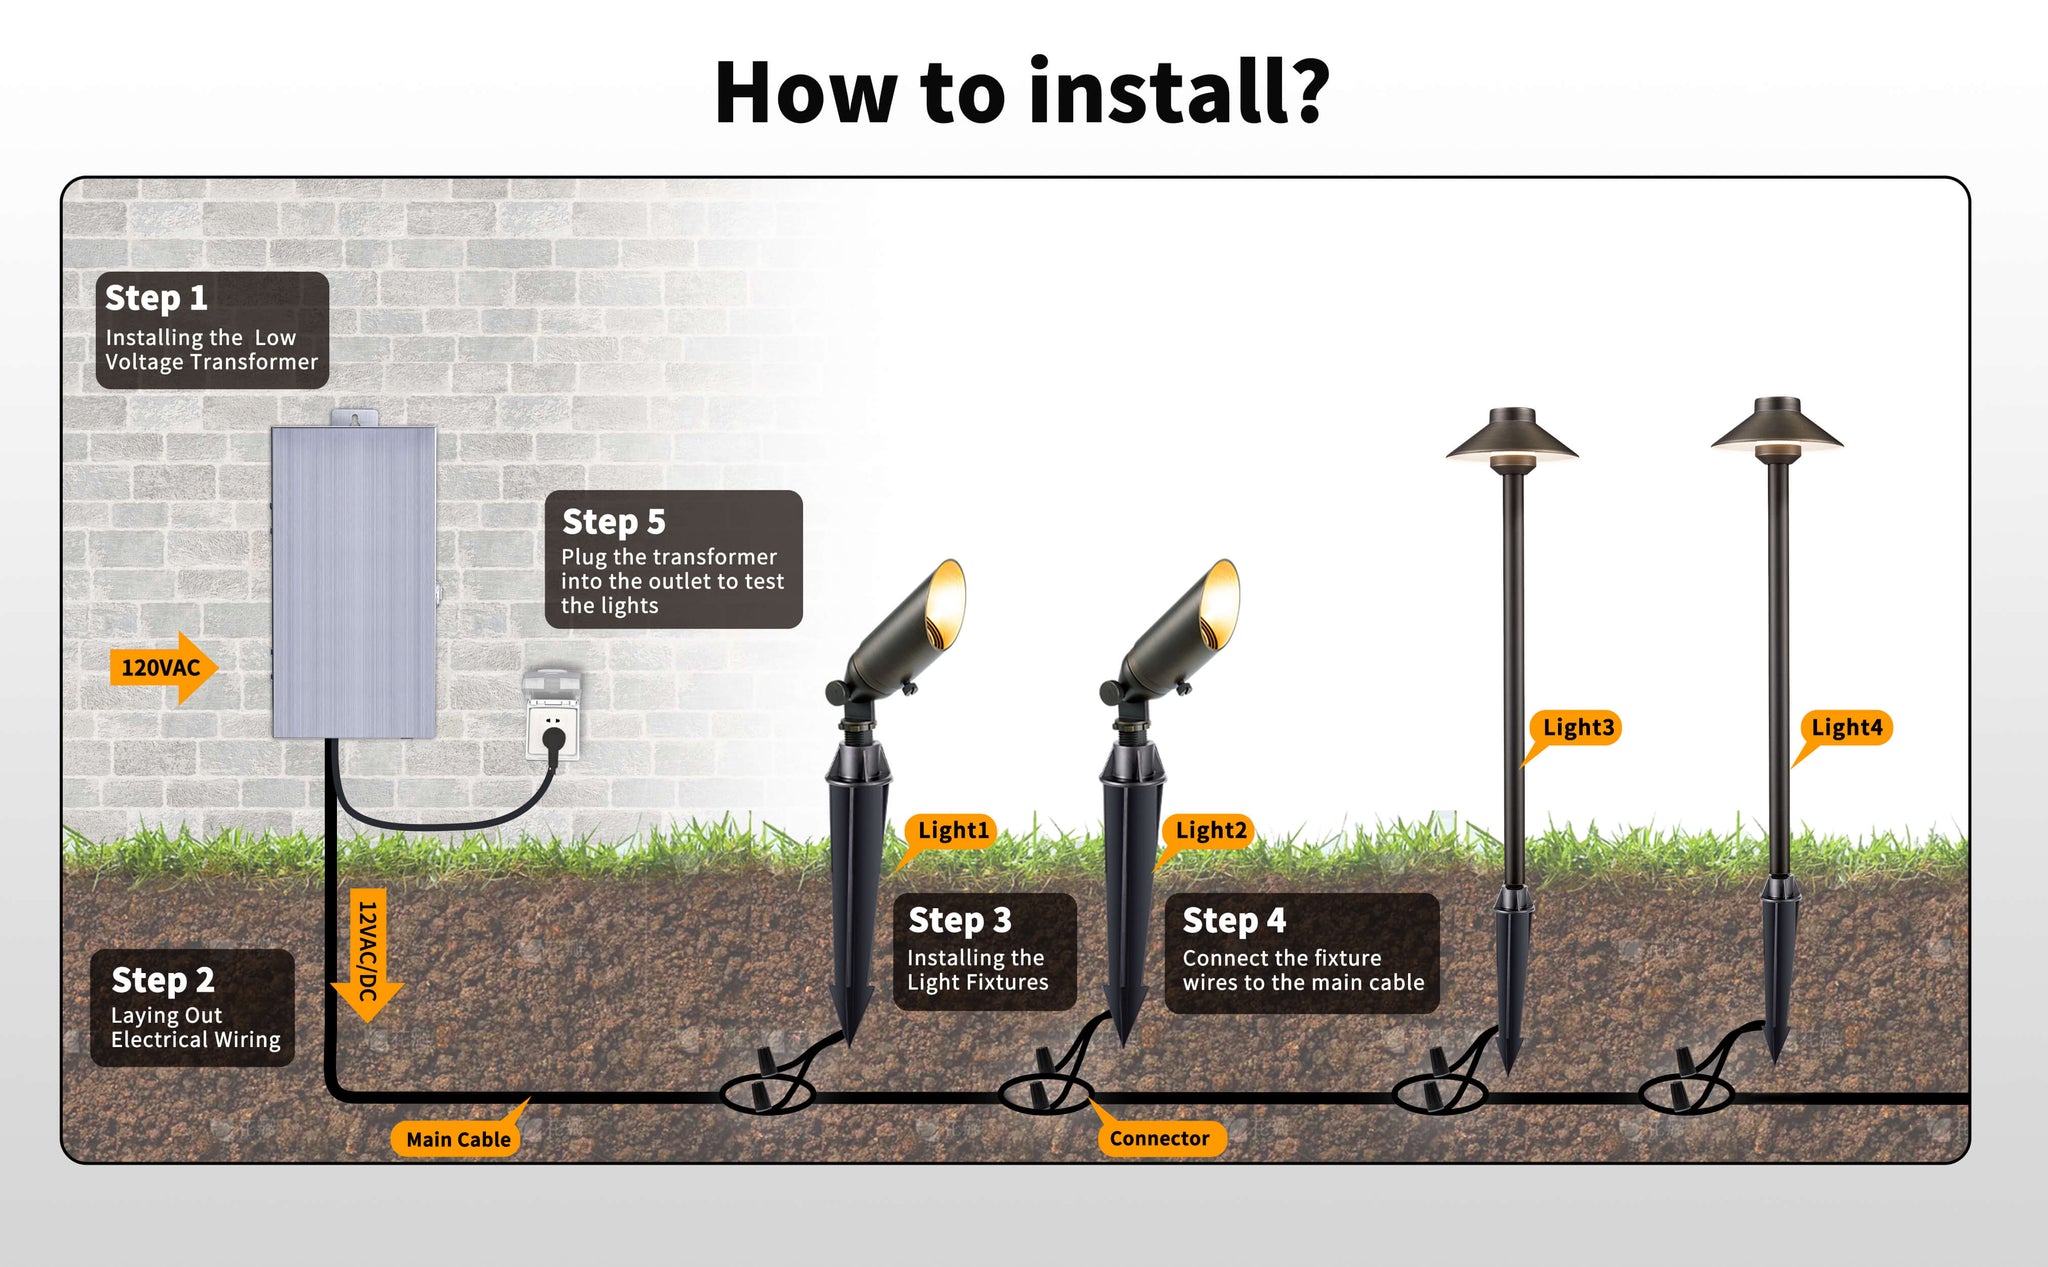
4. Installing Electrical Components
Installing outdoor lighting not only enhances the beauty of your home but also improves safety. The process involves several steps, including installing electrical components. This section will guide you through the critical steps of turning off power and running wires.
Turning Off Power
Before starting any electrical work, ensure safety by turning off the power. Find your main circuit breaker and switch off the circuit for the area you plan to work. Use a voltage tester to confirm there is no power. This step prevents electrical shocks and ensures a safe installation process.
Running Wires
Next, plan the route for your wires. Measure the distance between your power source and the lighting fixtures. Use outdoor-rated wires for durability. Run the wires through conduits to protect them from weather and physical damage. Secure the conduits to walls or bury them underground if necessary. Ensure all connections are tight and secure to avoid any electrical hazards.
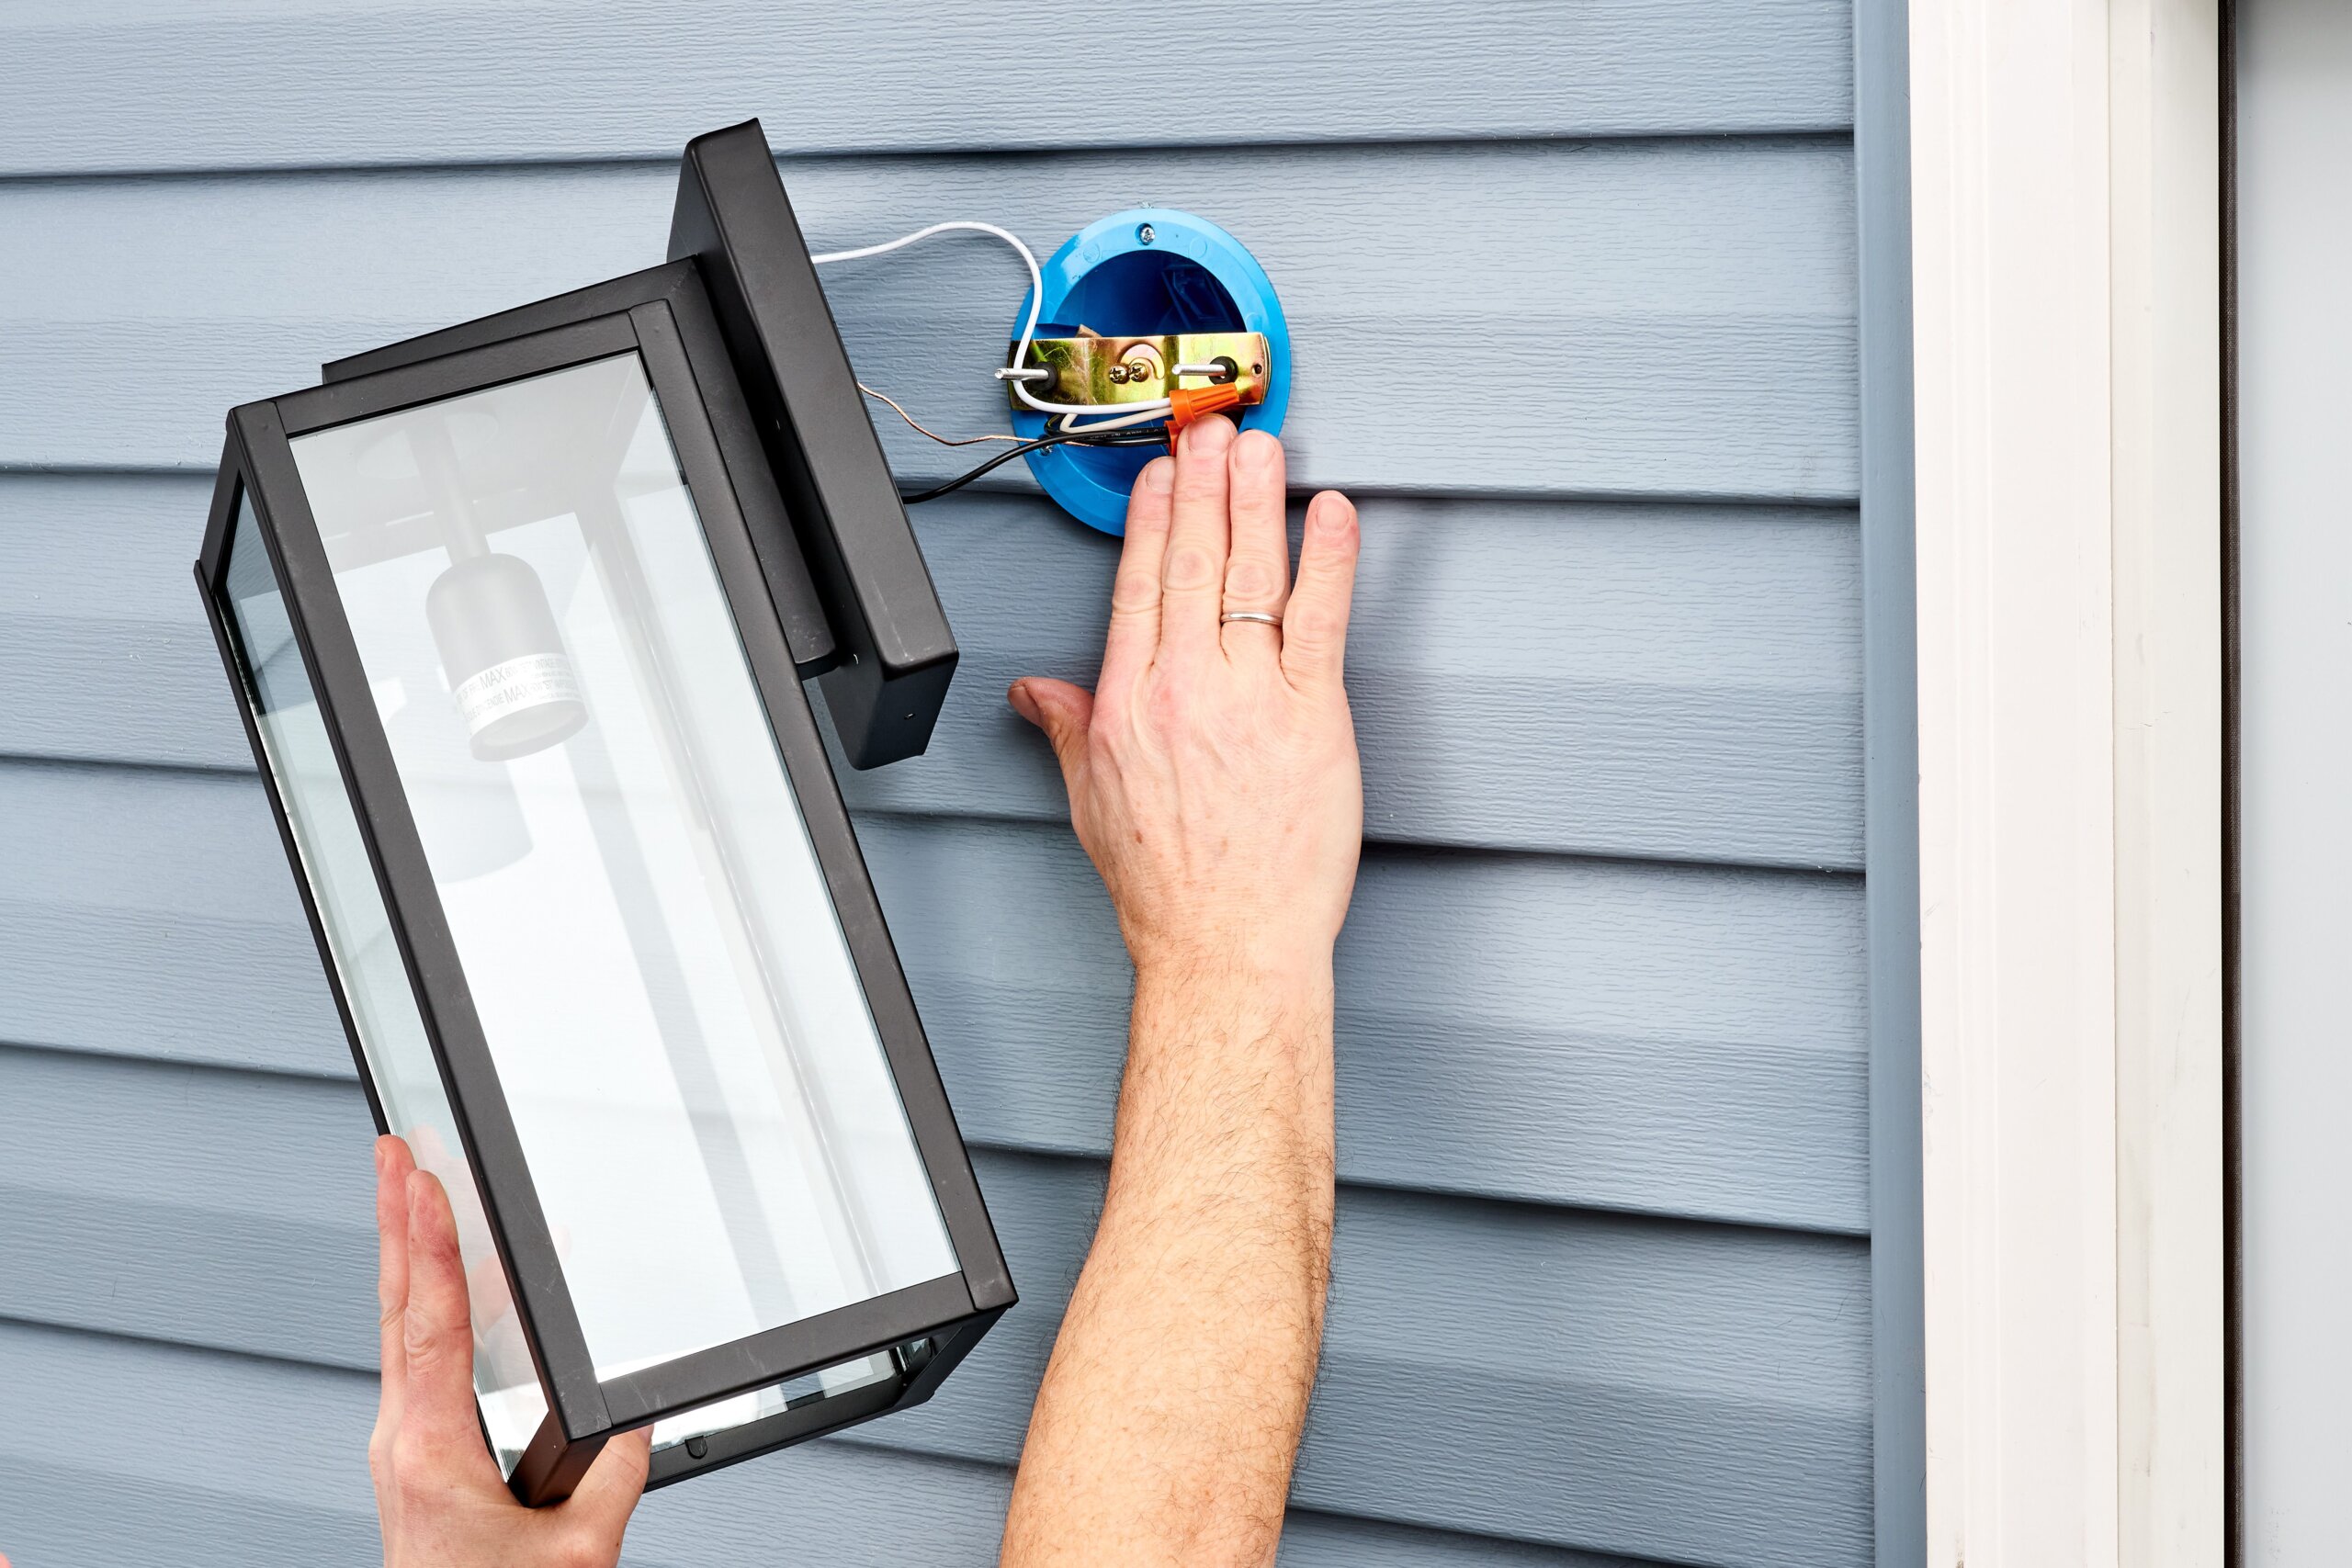
5. Mounting Light Fixtures
Installing outdoor lighting enhances the beauty and safety of your home. The first step is Mounting Light Fixtures. This process involves securely attaching the fixtures to your home’s exterior and connecting the wires for proper functionality. Let’s dive into the steps involved.
Securing Fixtures
Begin by selecting the right spot for your light fixtures. Use a level to ensure the placement is straight. Mark the spots where you will drill holes. Use a power drill to create holes for the mounting brackets. Attach the brackets using appropriate anchors and screws.
Next, align the light fixture with the mounting brackets. Secure it with the provided screws. Ensure the fixture is tightly fastened to prevent it from moving. Check the stability by gently shaking the fixture.
Connecting Wires
Turn off the power at the breaker box. This is crucial for your safety. Use a voltage tester to ensure there is no power in the wires.
Connect the wires from the fixture to the wires from your home. Typically, black wires connect to black, white to white, and green or bare copper to the grounding wire. Use wire nuts to secure the connections. Wrap the wire nuts with electrical tape for added safety.
Finally, tuck the wires into the electrical box. Attach the light fixture’s cover plate. Restore power at the breaker box and test the light. If it works, your installation is complete!
6. Testing The Installation
Testing the installation of your outdoor lighting is a crucial step. Ensuring everything works as expected will save you trouble later. Let’s walk through the steps you need to follow to test your new outdoor lighting setup.
Restoring Power
First, you need to restore power to the area. Return to your main electrical panel. Switch the breaker back on. Power should now flow to your new lights. Be cautious and avoid touching wires.
Checking Light Functionality
Next, check each light to ensure it works. Turn on the light switch. Walk around and observe each fixture. Make sure all lights turn on and shine bright. If any light does not work, double-check the connections. Ensure the bulbs are properly screwed in. You might need to replace a faulty bulb or adjust the wiring.
7. Maintaining Outdoor Lighting
Maintaining outdoor lighting ensures that your home remains safe and inviting. Regular upkeep helps your lights perform efficiently and last longer. Here are some simple steps to keep your outdoor lighting in top condition.
Regular Cleaning
Outdoor lights gather dust, dirt, and grime over time. Clean them regularly to maintain brightness. Use a soft cloth and mild detergent. Avoid harsh chemicals. Clean light fixtures every few months. This prevents buildup and keeps your lights shining bright.
Replacing Bulbs
Bulbs burn out and need replacing. Check your outdoor lights often. Replace burnt-out bulbs immediately. Use the correct wattage and type recommended for your fixtures. Ensure the power is off before changing bulbs. This prevents accidents and ensures safety.
Credit: www.lyco.co.uk
:strip_icc()/BHG-how-to-install-a-porch-light-6750514-step-06_30425-34868f78c66540ae855c3f453d085bac.jpg)
Credit: www.bhg.com
Frequently Asked Questions
What Tools Do I Need To Install Outdoor Lighting?
You need a drill, screwdriver, wire stripper, electrical tape, and a voltage tester.
How Do I Choose The Best Outdoor Lighting?
Consider brightness, energy efficiency, weather resistance, and style. LED lights are a popular choice.
Can I Install Outdoor Lighting By Myself?
Yes, you can. Follow safety guidelines and ensure the power is off before starting.
Where Should I Place Outdoor Lights?
Place lights along pathways, near entrances, and in dark corners for safety and aesthetics.
How Do I Maintain Outdoor Lighting?
Clean fixtures regularly, check for damaged wires, and replace bulbs as needed. Ensure connections are secure.
Conclusion
Outdoor lighting installation is a simple way to enhance your home’s appeal. It also boosts security and safety. Follow our guide for easy steps. Choose the right lights. Plan your layout carefully. Connect the wiring properly. Remember to test your lights before finishing.
Enjoy a well-lit, beautiful outdoor space. Happy lighting!

My name is Mahi Uddin, and I’m a blog writer with over two years of experience specializing in creating engaging, informative content using AI tools. I contribute to InExDecor.com, where I share creative ideas and practical tips for transforming interior and exterior spaces into beautiful, functional environments. With a passion for storytelling and a knack for blending creativity with technology, I strive to craft blogs that not only inform but also inspire readers. When I’m not writing, you can find me exploring design trends or enjoying a good book with a cup of coffee.