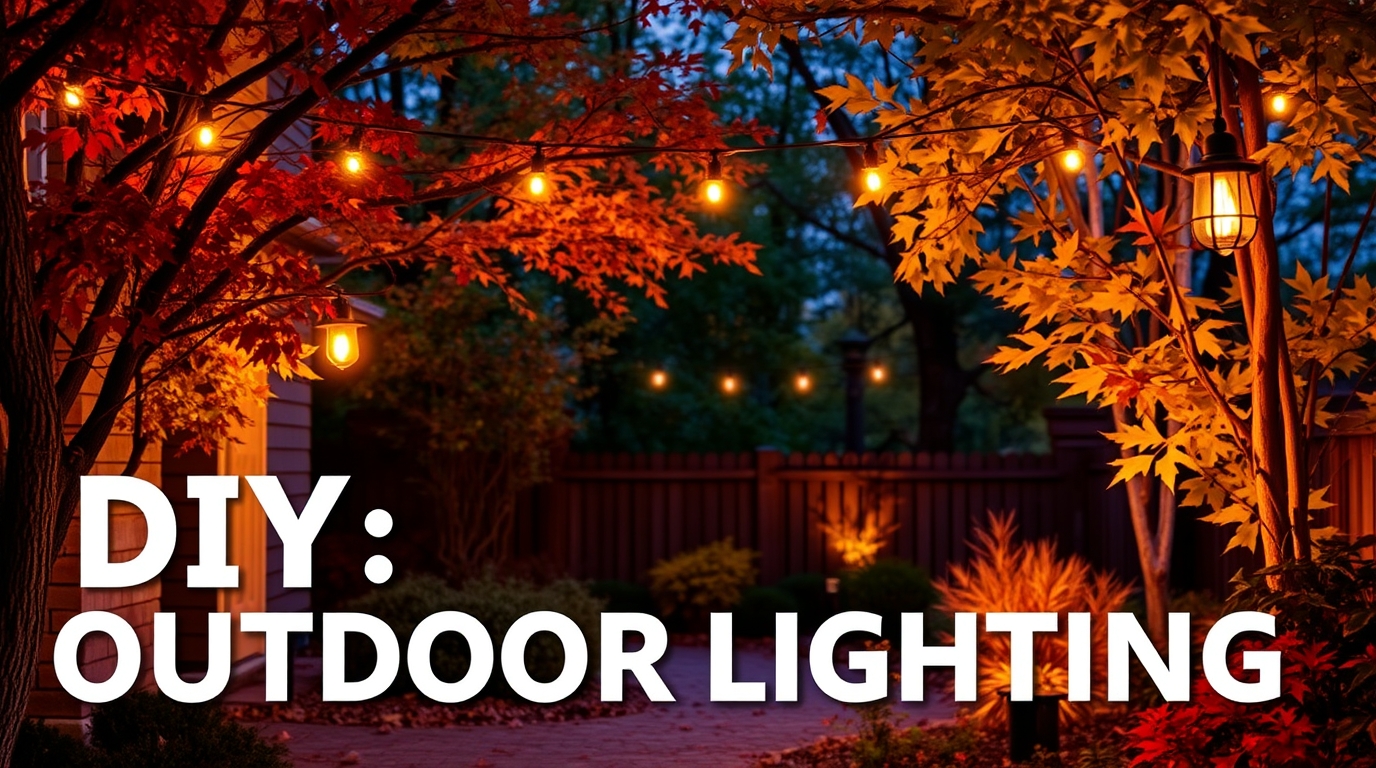
Outdoor lighting can transform your space. It adds beauty and safety.
Do it yourself outdoor lighting projects are both fun and rewarding. They allow you to personalize your yard while saving money. Imagine evenings spent under twinkling lights or the security of a well-lit garden. With a few tools and some creativity, you can achieve a stunning look.
Whether you’re hosting a backyard party or just want a relaxing atmosphere, DIY outdoor lighting can make it happen. This guide will explore ideas and tips to help you get started. You don’t need to be an expert; just follow along and watch your outdoor space shine. Ready to light up your outdoor area? Let’s dive in!
Introduction To Do It Yourself Outdoor Lighting
Outdoor lighting can transform any space. It creates ambiance and enhances safety. DIY outdoor lighting is a popular choice. It offers creativity and cost savings. This guide will introduce you to the basics of DIY outdoor lighting.
Benefits Of DIY Outdoor Lighting
DIY outdoor lighting offers many benefits. First, it saves money. Hiring professionals can be expensive. Doing it yourself reduces costs. Second, it allows for personalization. You can choose designs that match your style. Third, it is a fun project. It can be a rewarding experience. Finally, it increases home value. Well-lit areas are attractive to buyers.
Common Misconceptions
Many people think DIY outdoor lighting is difficult. It is not. With the right tools, anyone can do it. Another misconception is that it is time-consuming. It can be done in a weekend. Some believe it is unsafe. Using proper materials ensures safety. Lastly, people think it requires special skills. Basic knowledge is enough. Many resources are available to help.
Planning Your Outdoor Lighting
Create beautiful, functional outdoor spaces with do-it-yourself lighting. Choose energy-efficient LED lights for pathways and gardens. Ensure fixtures are weather-resistant for long-lasting use.
Planning your outdoor lighting can transform your garden or yard. It can make it more beautiful and safe. Good lighting adds charm and improves visibility at night.
Assessing Your Space
Start by assessing your outdoor space. Look at the size and layout. Identify areas that need lighting. Walkways, patios, and garden beds are common spots. Note any dark areas. These might need extra attention. Consider where you spend the most time. These areas should have the best lighting.
Choosing The Right Fixtures
Choosing the right fixtures is crucial. You need to match the fixtures to your space. Think about the style of your home. Pick fixtures that blend in. There are many types of fixtures. Wall lights, path lights, and string lights are popular choices. Solar lights are eco-friendly and easy to install. LED lights are energy-efficient and last long. Always check the brightness of the lights. Too bright can be harsh, too dim can be ineffective.
Types Of Outdoor Lighting
Adding the right outdoor lighting can transform your garden or backyard. It not only improves safety but also highlights the beauty of your home. There are various types of outdoor lighting available. Each type serves a unique purpose and has its own charm. Below, we explore some popular options.
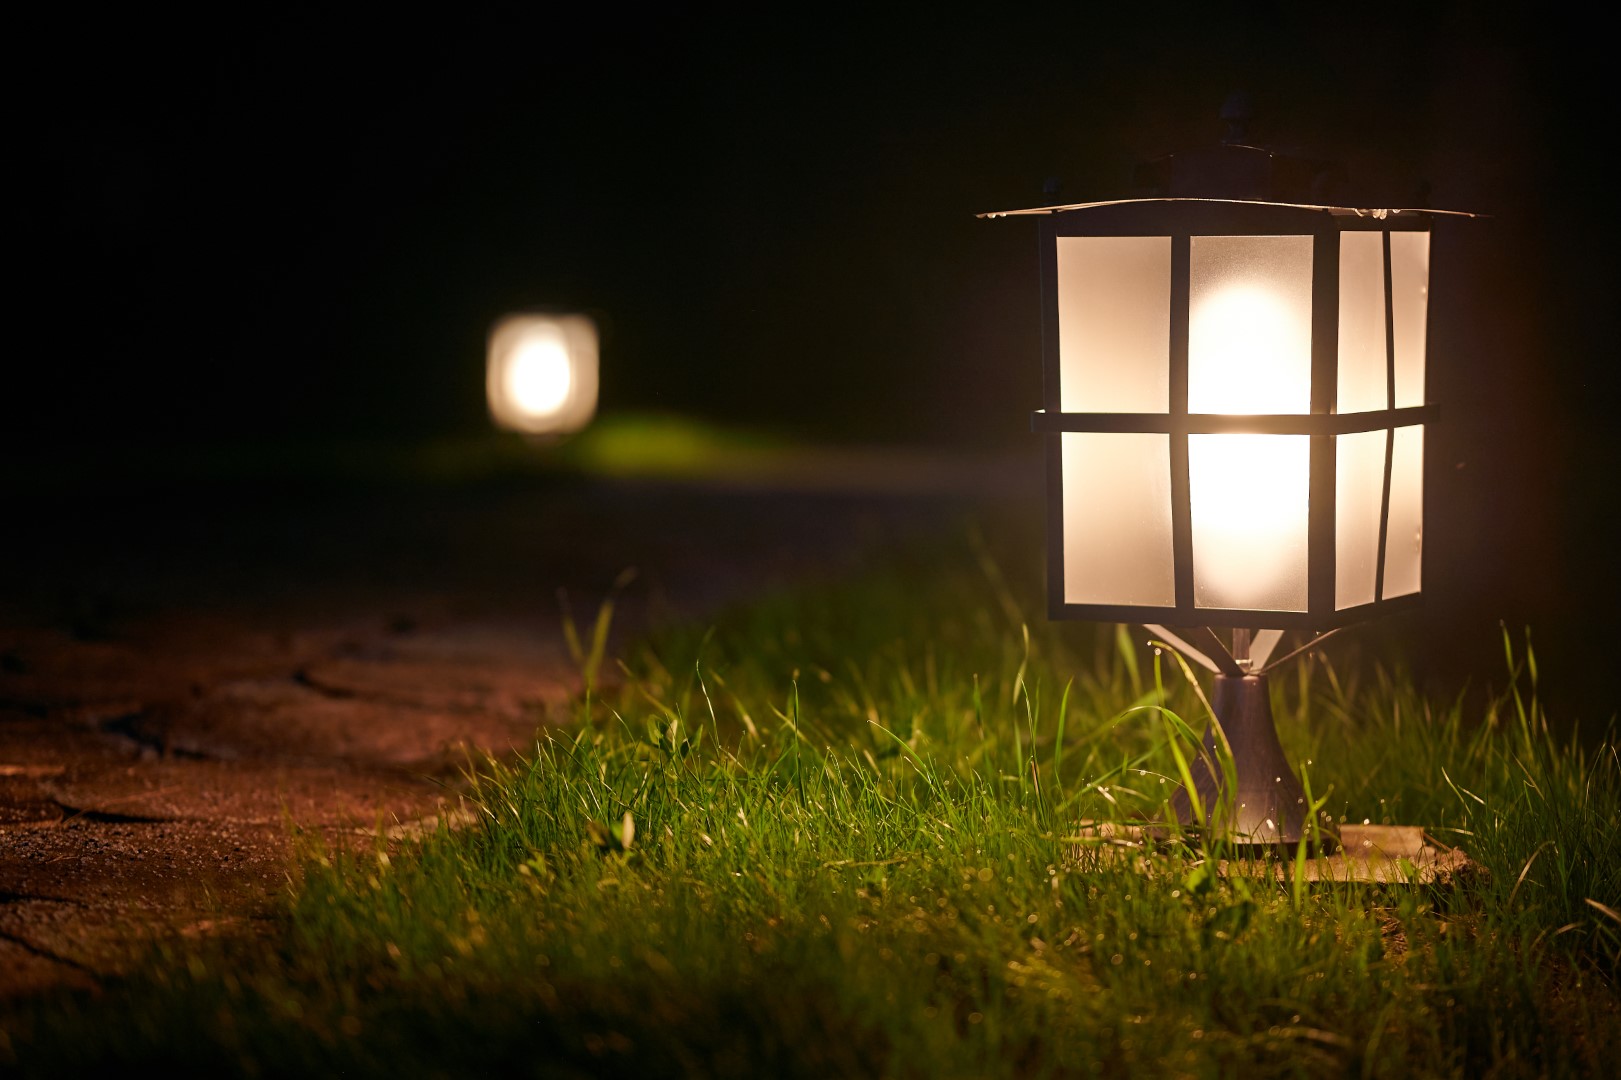
Pathway Lights
Pathway lights are essential for guiding guests along walkways. They prevent accidents and add a warm glow to your garden. These lights are usually low to the ground. They create a well-lit path without overwhelming the area. Here are some common types:
- Solar-powered lights – Eco-friendly and easy to install.
- LED lights – Long-lasting and energy-efficient.
- Stake lights – Simple to place along pathways.
Pathway lights come in many designs. Choose ones that match your garden’s style.
Accent Lights
Accent lights focus on specific features in your garden. They draw attention to trees, statues, or water features. This type of lighting adds drama and depth to your outdoor space. Some common types include:
- Spotlights – Focused beams highlight specific areas.
- Uplights – Positioned on the ground to light up tall features.
- Downlights – Placed above to cast light downwards.
By using accent lights, you can create stunning visual effects. Experiment with different angles for the best results.
Credit: lighthouse-lights.com
Essential Tools And Materials
Creating your own outdoor lighting can be a fun project. It’s important to start with the right tools and materials. This ensures your project goes smoothly and the results are excellent. Let’s dive into the essentials you need for your DIY outdoor lighting project.
Basic Tools Needed
To begin, gather some basic tools. You’ll need a tape measure. This helps you measure spaces accurately. A screwdriver is also essential. It helps you fix and tighten screws. Wire strippers are a must. They help you strip the coating off wires. Don’t forget a hammer. It helps you to put nails in place. A drill is useful too. It creates holes where you need them.
Additionally, you might need a ladder. This is important for reaching high places safely. Safety gloves protect your hands. They are crucial when handling wires. A utility knife can be handy. It helps you cut materials easily. Make sure you have a pencil. It helps you mark measurements clearly.
Selecting Quality Materials
The quality of materials affects the durability of your lighting. First, choose high-quality wires. They ensure safety and efficiency. Opt for weather-resistant fixtures. They withstand outdoor conditions better. LED bulbs are a good choice. They are energy-efficient and long-lasting.
Consider using solar panels. They save electricity and are eco-friendly. Waterproof connectors are vital. They protect the connections from water damage. Use sturdy mounting brackets. They keep the fixtures in place firmly. Select good-quality screws and nails. They ensure everything stays secure.
By choosing the right tools and materials, your DIY outdoor lighting project will be a success. Happy crafting!
Step-by-step Installation Guide
Installing your outdoor lighting can seem hard. But it’s easy with the right steps. This guide will help you install your lights safely and quickly. Let’s get started!
Preparing The Area
First, pick the best spots for your lights. Think about where you need light the most. Mark these spots with small flags or stones. This will help you remember where each light goes.
Next, clear the area of any debris. Remove leaves, branches, and other obstacles. This will make it easier to work. Also, ensure the ground is level. This helps the lights stand straight.
Finally, check the power source. Make sure you have an outdoor outlet nearby. If not, you may need an extension cord. Plan the route of your wiring. Keep it out of walkways to avoid tripping hazards.
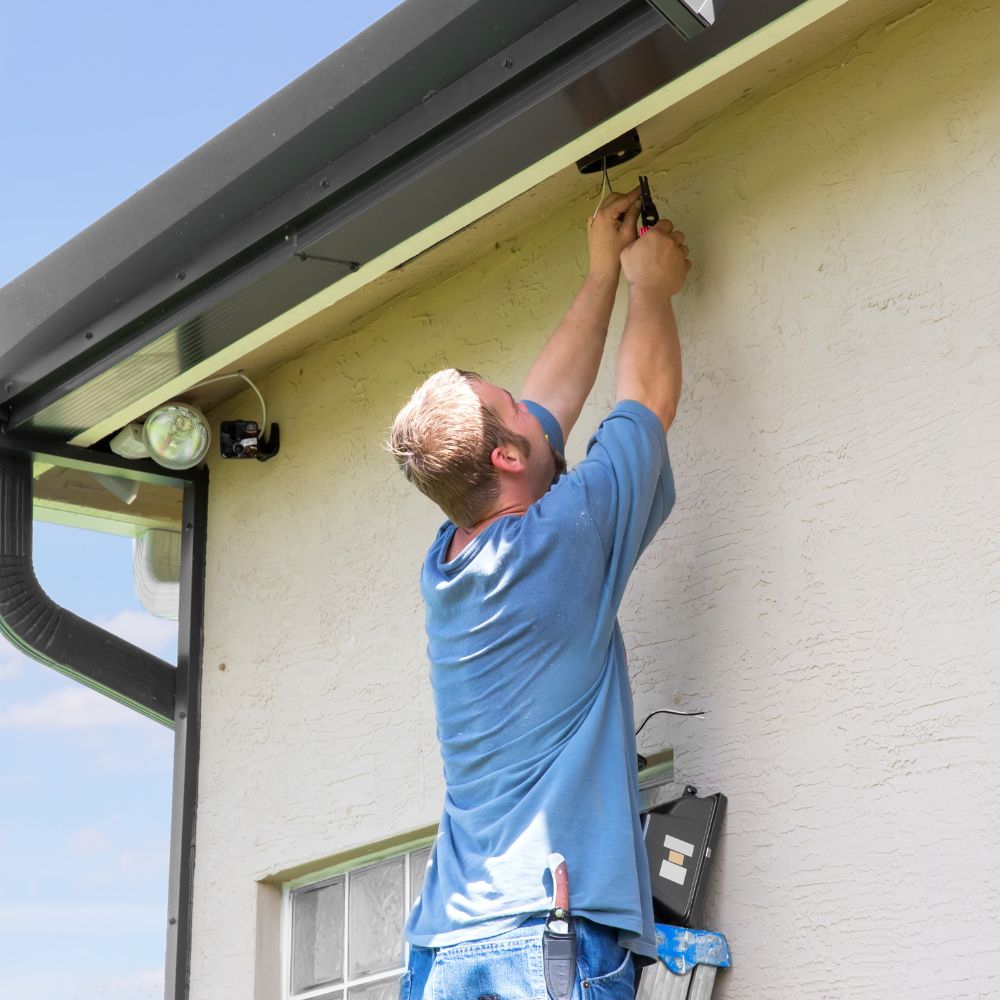
Installing The Lights
Begin by placing the lights in the marked spots. Push them into the ground firmly. Ensure they are stable and upright.
Next, connect the wiring. Follow the manufacturer’s instructions. Usually, this involves connecting wires from the lights to the main power source. Double-check all connections. They should be tight and secure.
Once the wiring is complete, test your lights. Turn them on to see if they work. If they don’t, check the connections again. Make sure everything is plugged in properly.
Finally, hide the wires. Bury them a few inches under the ground. This keeps your yard looking neat. It also protects the wires from damage.
That’s it! Your outdoor lights are now ready to use. Enjoy your well-lit and beautiful outdoor space.
Credit: americanaoutdoorlighting.com
Enhancing Aesthetics With Lighting
Enhancing the aesthetics of your outdoor space with lighting can transform it into a stunning and welcoming area. Thoughtfully placed lights can create a warm ambiance, highlight key features, and add a touch of elegance. Here are some ways to enhance your outdoor aesthetics with lighting.
Creating Ambiance
Outdoor lighting can set the mood for your space. Use soft, warm lights to create a cozy atmosphere. String lights or fairy lights are great options. They add charm and make the area feel magical.
- Lanterns: Place lanterns along pathways or on tables.
- Solar lights: Install solar lights to save energy and add a gentle glow.
- LED candles: Use LED candles for a flickering effect without the fire hazard.
Highlighting Key Features
Use lighting to draw attention to the best parts of your yard. Highlight trees, flower beds, and water features. This makes your space look well-designed and cared for.
| Feature | Lighting Type |
|---|---|
| Trees | Uplights |
| Flower beds | Spotlights |
| Water features | Submersible lights |
Consider using different lighting techniques. Uplighting can make trees look majestic. Spotlights can bring out the colors of your flowers. Submersible lights can make your water feature sparkle.
Maintenance And Troubleshooting
Keeping your outdoor lighting in good shape is essential. Regular maintenance and quick troubleshooting can extend the life of your lights. Here’s how to do it.
Routine Maintenance Tips
Routine maintenance ensures your outdoor lights function well. Here are some tips:
- Clean the fixtures: Use a damp cloth to wipe down light fixtures. This removes dirt and grime.
- Check for loose connections: Inspect wiring and tighten any loose connections.
- Replace bulbs: Swap out burnt-out or dim bulbs with new ones.
- Inspect for damage: Look for any signs of wear or damage. Replace damaged parts immediately.
Common Issues And Solutions
Sometimes, issues arise with outdoor lighting. Here are common problems and how to solve them:
| Issue | Solution |
|---|---|
| Lights not turning on | Check the power source. Ensure the switch is on and the breaker is not tripped. |
| Flickering lights | Tighten any loose bulbs. Inspect and secure any loose wiring connections. |
| Dim lights | Clean the fixtures and bulbs. Replace any old or weak bulbs. |
| Water damage | Ensure fixtures are waterproof. Replace any that are not designed for outdoor use. |
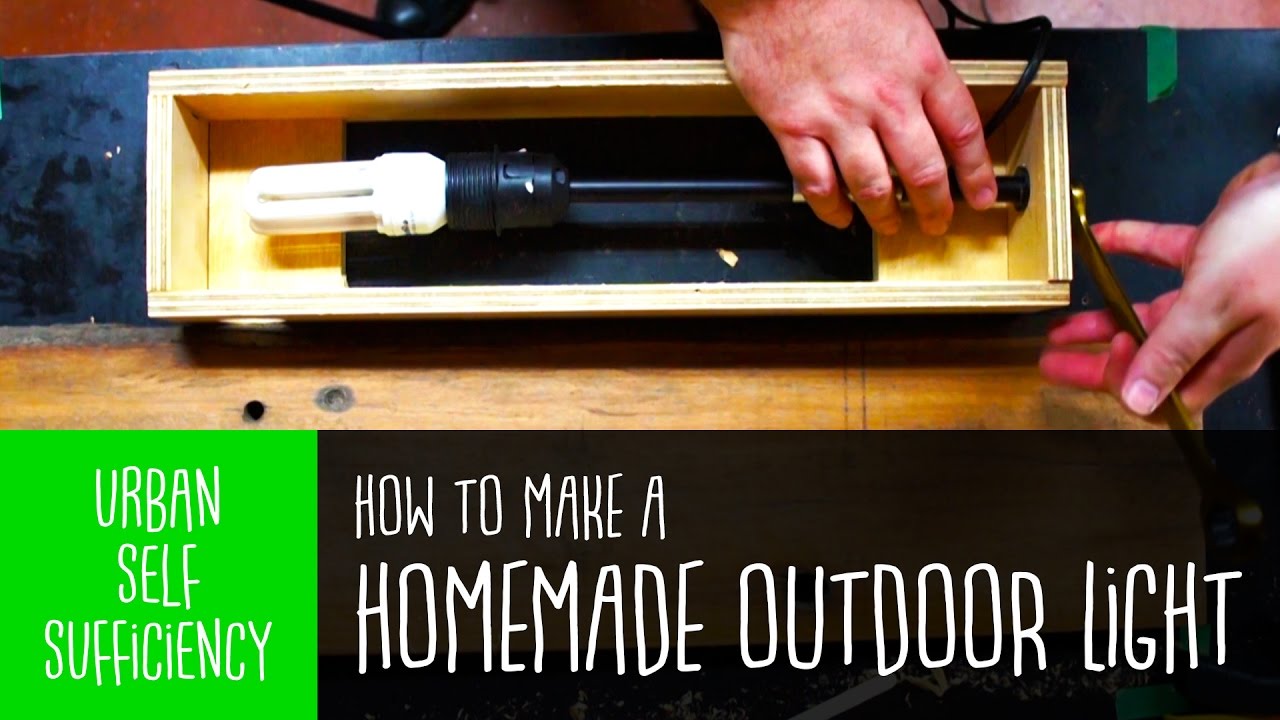
Credit: www.youtube.com
Frequently Asked Questions
How Do I Install Outdoor Lighting Myself?
Installing outdoor lighting is simple. Plan your layout, gather tools, and follow the manufacturer’s instructions.
What Tools Are Needed For Diy Outdoor Lighting?
You need basic tools. Wire cutters, a shovel, a screwdriver, and a voltage tester.
How Much Does Diy Outdoor Lighting Cost?
DIY outdoor lighting costs vary. Basic setups can start at $50. Complex designs can be more expensive.
Can I Use Solar Lights For Outdoor Lighting?
Yes, solar lights are a great option. They are energy-efficient and easy to install.
What Are The Benefits Of Outdoor Lighting?
Outdoor lighting enhances safety, improves home aesthetics, and extends outdoor living space use.
Conclusion
Creating your own outdoor lighting can be both fun and rewarding. It adds charm to your space. Plus, it’s cost-effective and customizable. Follow the steps, and enjoy your well-lit yard. You’ll feel proud of your work. Your guests will be impressed too.
Start your project today. Brighten your nights with beautiful DIY lighting.

My name is Mahi Uddin, and I’m a blog writer with over two years of experience specializing in creating engaging, informative content using AI tools. I contribute to InExDecor.com, where I share creative ideas and practical tips for transforming interior and exterior spaces into beautiful, functional environments. With a passion for storytelling and a knack for blending creativity with technology, I strive to craft blogs that not only inform but also inspire readers. When I’m not writing, you can find me exploring design trends or enjoying a good book with a cup of coffee.