Introduction
There’s something timeless about sitting around an outdoor fire pit. The crackle of the flames, the gentle warmth against your skin, the hypnotic dance of light—it’s an experience that brings people together and enhances your fire pit ambiance. Whether you’re planning a cozy backyard evening with friends or looking to toast some marshmallows with the family, knowing how to start a fire in a fire pit is an essential outdoor skill for safe and enjoyable outdoor entertaining.
But let’s be honest: while it might look simple in the movies, getting a fire going isn’t always straightforward. If you’ve ever found yourself frantically fanning a stubborn flame or throwing in too much lighter fluid (yikes), you know what I mean. That’s why we’re here—to walk you through the entire process, step by step, so your fire pit game is solid and you can focus on backyard fire pit safety.
Fire pits are a perfect blend of comfort and functionality. They provide warmth, light, ambiance, and even fire pit cooking options. Plus, they’re a safer and more controlled way to enjoy an open fire, especially when you follow fire pit regulations and fire safety tips. In this guide on how to start a fire in a fire pit, we’ll break down everything you need to know—from choosing your seasoned firewood and proper firewood storage to striking that first match, using a fire pit grill grate, and keeping the flames alive with good fire pit maintenance
Understanding Fire Basics
The Fire Triangle: Fuel, Heat, and Oxygen
If you’ve ever heard the term “fire triangle,” you know it’s not just camping jargon—it’s the foundation of every flame and a key principle behind safe outdoor fire pit use and backyard fire pit safety. This triangle includes fuel, heat, and oxygen, and you need all three working together to make fire magic happen, whether you’re enjoying a patio fire pit, a portable fire pit, or a custom-built fire pit design.
Fuel: This includes your firewood, kindling, and tinder—the stuff that actually burns. For optimal results and cleaner burning, always use seasoned firewood and practice proper firewood storage to keep your wood dry. Some people prefer eco-friendly fire logs as a sustainable option, especially in areas with strict fire pit regulations or during burn bans.
Heat: You need a spark or a flame to kick things off. Without heat, the fuel won’t ignite. When planning for fire pit cooking, a steady heat source and even flame are essential, and a fire pit grill grate can help you cook food evenly over your outdoor heating source.
Oxygen: Fire needs to breathe, just like us. Without enough airflow, the flame suffocates. Good fire pit design ensures proper ventilation, supporting both a strong flame and inviting fire pit ambiance for your outdoor entertaining.
The key to a successful fire is balancing these three elements. Too much wood and not enough air? Your fire will smoke like crazy. Too little fuel? It’ll die out fast. That’s why choosing the right materials and setup is critical—not just for a great fire, but also for fire pit maintenance and safe operation. In the next sections, we’ll cover topics like fire pit ash removal and how to comply with local fire pit regulations and burn bans.
Why Fire Pits Are Ideal for Outdoor Fires
So, why not just build a fire on the ground? Good question. Fire pits offer some big-time advantages for outdoor entertaining and safety:
- Containment: Fire pits help control the spread of fire, making it safer, especially in residential areas and when following backyard fire pit safety guidelines.
- Wind Protection: Their structure helps shield flames from gusts that could either blow the fire out or spread embers, supporting consistent outdoor heating and helping you comply with fire safety tips.
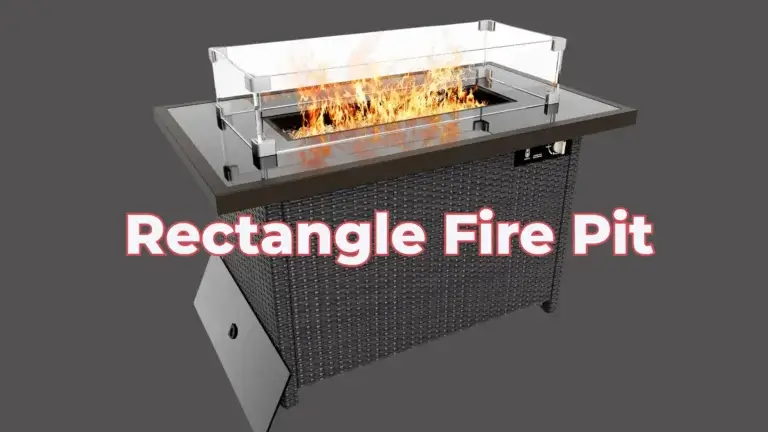
- Design Appeal: Fire pits come in all kinds of styles and materials, from portable fire pits to custom patio fire pits, adding charm and fire pit ambiance to your backyard setup.
- Heat Efficiency: A well-designed fire pit radiates heat outward and upward, keeping everyone around it warm and cozy—perfect for outdoor entertaining and fire pit cooking.
Think of a fire pit as your fire’s home. It’s the safe, stable base that lets you enjoy the warmth without the worry, provided you follow fire pit regulations, keep up with fire pit maintenance, and always observe local burn bans.
Choosing the Right Location for Your Fire Pit
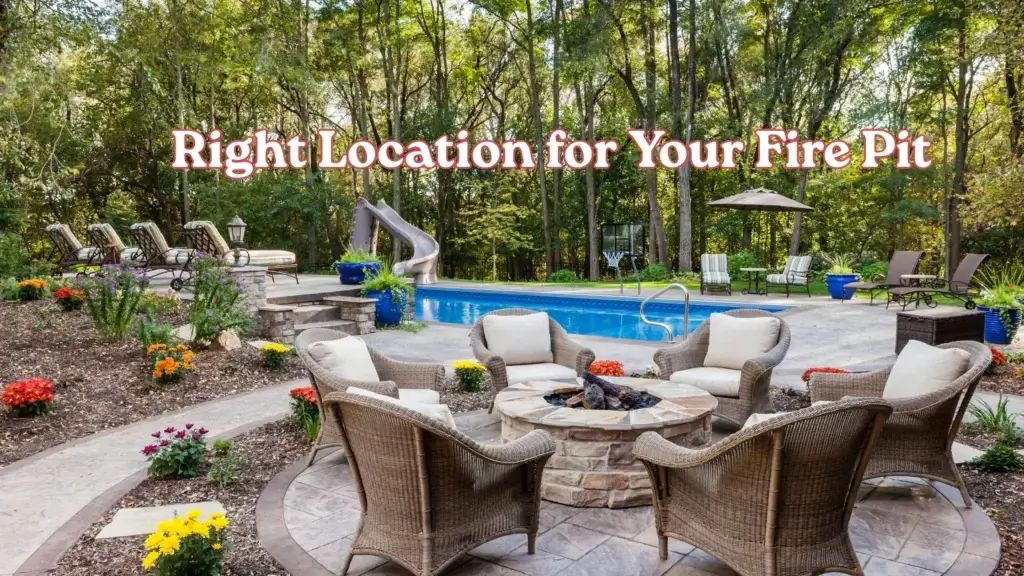
Safety Precautions and Local Regulations
Before you even think about lighting up your outdoor fire pit, you need to pick a safe spot. And here’s where it pays to do a little homework. Check with your local authorities or fire department to see if there are any restrictions, fire pit regulations, or burn bans in your area. Many places have rules about open flames, especially during dry seasons, to ensure backyard fire pit safety and responsible outdoor entertaining.
Safety first—always. Here are some key fire safety tips:
- Keep your fire pit—whether it’s a patio fire pit or a portable fire pit—at least 10 feet away from any structure, fence, or overhanging tree branches.
- Never set it up on wooden decks unless it’s a fire-pit-safe model designed for that purpose.
- Use a non-flammable surface like gravel, stone, or concrete to support safe fire pit design and fire pit maintenance.
- Have a hose, water bucket, or fire extinguisher nearby just in case, and always practice proper fire pit ash removal after use.
And don’t forget: wind can change direction in an instant. A fire that seems safe one minute can suddenly become risky the next, so always factor in wind when planning your outdoor heating setup.
Wind Direction and Shelter
You might not be able to see the wind, but you’ll definitely feel its effects when trying to start a fire. Too much wind, and your flame could either go out or spread embers everywhere—not exactly ideal for fire pit ambiance or fire pit cooking.
Here’s how to deal with it:
- Choose a sheltered area with natural windbreaks like fences or shrubs to protect your fire pit design.
- Use wind guards or screen covers if your fire pit allows for it, which is especially helpful with a portable fire pit.
- Face your seating area upwind, so smoke doesn’t blow into your guests’ faces during outdoor entertaining.
Remember, wind is both your friend and foe. A gentle breeze helps feed the flame oxygen, but too much of it can blow things out of control. Balance is key for safe and enjoyable use of your outdoor fire pit.
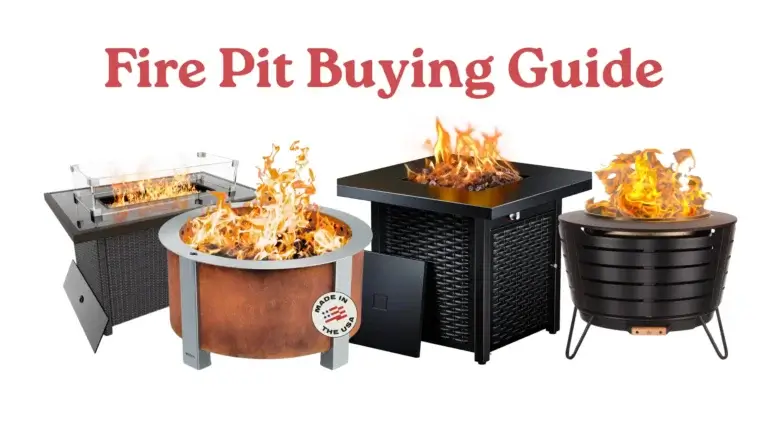
Selecting the Right Fire Pit
Types of Fire Pits: Wood vs Gas
When choosing the best outdoor fire pit for your space, the first major decision is between a wood-burning fire pit and a gas-powered fire pit. Each option offers unique benefits and drawbacks that can affect your experience, backyard fire pit safety, maintenance, and overall fire pit ambiance.
Wood-Burning Fire Pits

Pros:
- Authentic Experience: Wood-burning fire pits deliver the classic crackling sound, smoky aroma, and traditional campfire vibe that many people associate with outdoor entertaining and backyard gatherings.
- Ambiance and Warmth: The flames and heat output are generally higher, making them ideal for outdoor heating, especially in colder climates or when you want a cozy patio fire pit experience.
- Versatility: You can use various types of seasoned firewood, experiment with different wood aromas, and even enjoy fire pit cooking with a fire pit grill grate.
- Cost-Effective: Wood fire pits are typically more affordable to purchase and install, and don’t require a professional setup or gas line.
- DIY-Friendly: Many wood fire pits are easy to install, making them a popular choice for those who enjoy DIY outdoor projects and want a portable fire pit option.
Cons:
- Maintenance: Wood fire pits require regular fire pit ash removal, cleaning, and more frequent fire pit maintenance due to soot and debris buildup.
- Firewood Storage: You’ll need a dry, dedicated space for firewood storage, and must ensure your wood is properly seasoned for efficient burning.
- Smoke and Emissions: Burning wood produces smoke and particulates, which can be bothersome for guests and may not comply with local fire pit regulations or burn bans.
- Safety Considerations: Flying sparks and embers require extra attention to fire safety tips, especially if children or pets are present.
- Convenience: Lighting and maintaining a wood fire takes more effort and time, and extinguishing the fire completely before leaving is essential for safety.
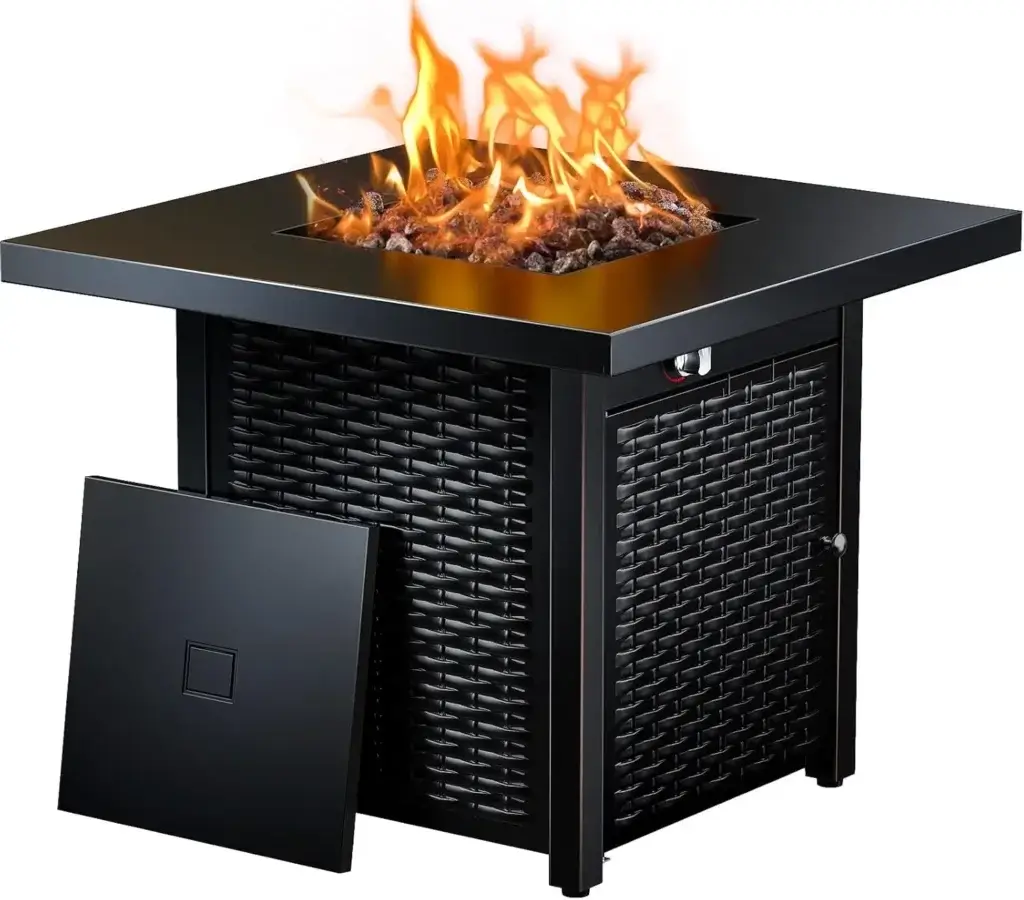
Gas Fire Pits (Natural Gas or Propane)
Pros:
- Ease of Use: Gas fire pits ignite instantly with a switch or knob, offering unmatched convenience for outdoor entertaining.
- Low Maintenance: No need for fire pit ash removal or storing firewood. Gas fire pits are much easier to clean and maintain.
- Clean Burning: Gas fire pits produce minimal smoke and emissions, making them ideal for those with allergies or in areas with strict fire pit regulations.
- Adjustable Flames: You can easily control the flame size and heat output, enhancing fire pit ambiance and safety.
- Safety: With no flying embers and a quick cool-down after use, gas fire pits are generally safer, especially for families with children or pets.
- Modern Design: Gas fire pits often feature sleek, contemporary fire pit design and can be integrated into patio fire pit setups.
Cons:
- Higher Initial Cost: Gas fire pits and their installation (especially with a natural gas line) are usually more expensive than wood-burning models.
- Dependency on Fuel Source: You need a steady supply of propane or a connection to a natural gas line. Propane tanks require storage and periodic replacement.
- Lower Heat Output: While many gas fire pits provide ample warmth, they typically produce less heat than wood-burning fire pits, which can be a factor in colder climates.
- Less Authentic Ambiance: Some users miss the rustic charm, crackling sound, and aroma of burning wood, which can impact the overall fire pit ambiance.
- Limited Portability: Built-in gas fire pits are fixed in place, though some propane models are portable fire pit options for flexible outdoor entertaining.
Which Fire Pit is Right for You?
- Choose a wood-burning fire pit if you value traditional campfire experiences, enjoy fire pit cooking, and don’t mind the extra fire pit maintenance and firewood storage.
- Opt for a gas fire pit if you prioritize convenience, clean burning, low maintenance, and enhanced safety—especially in areas with strict fire pit regulations or frequent burn bans.
Both types can be found in a variety of fire pit designs, from classic to modern, and can be tailored to your outdoor heating and ambiance needs. Consider your lifestyle, local regulations, and how you plan to use your fire pit to make the best choice for your backyard. For those seeking sustainability, eco-friendly fire logs are also an option for both wood and hybrid models.
Portable vs Permanent Fire Pits
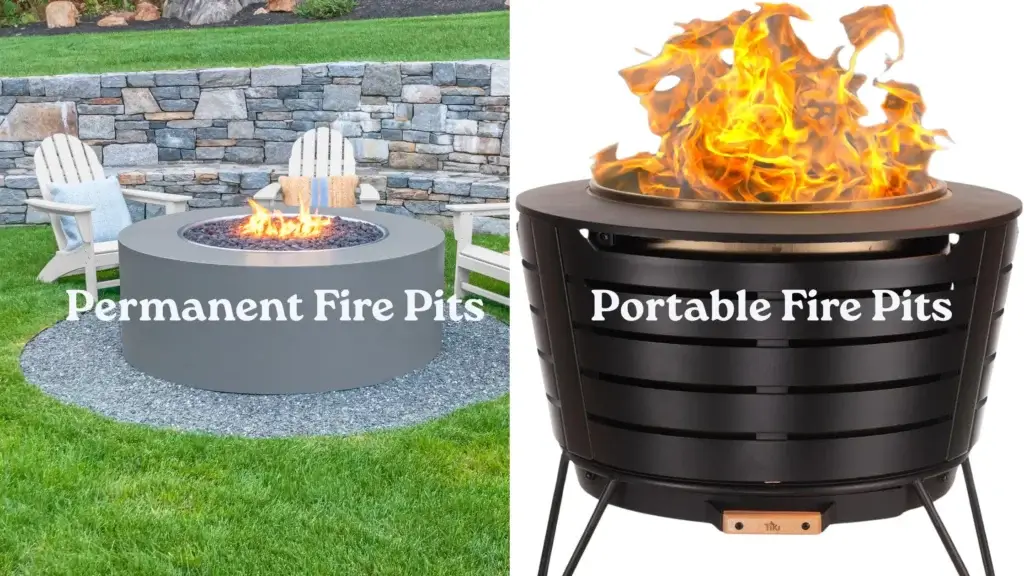
When deciding between a portable fire pit and a permanent fire pit, it’s important to consider your lifestyle, outdoor space, and long-term goals. Both options offer unique benefits and challenges, and the right choice depends on how you plan to use your outdoor fire pit and what you want from your backyard experience, especially in terms of fire pit design, fire pit ambiance, and outdoor entertaining.
Portable Fire Pits
Portable fire pits are designed for flexibility and convenience. They are typically lightweight—often under 75 pounds—and made from metals like stainless steel or cast iron. These fire pits are great for renters, people with small yards, or anyone who enjoys rearranging their outdoor entertaining space. Their mobility means you can move them around your yard, take them camping, or even bring them to the beach for an impromptu fire pit cooking session.
Advantages:
- Flexibility: Easily move your fire pit to different locations or take it with you on trips, making it ideal for outdoor entertaining and changing patio fire pit layouts.
- Cost-Effective: Generally more affordable than permanent options, making them accessible for most budgets.
- Quick Setup: No professional installation required; just set it up and start enjoying your fire pit ambiance right away.
- Space-Saving: Perfect for smaller yards, patios, or balconies where space is limited.
- Versatility: Available in wood, propane, or gel fuel options, and often come with lids or screens for backyard fire pit safety.
- Easy Storage: Can be stored away during off-seasons to prolong their lifespan and reduce fire pit maintenance. Proper firewood storage is also easier with portable models.
- Eco-Friendly Choices: Some portable fire pits are compatible with eco-friendly fire logs for a cleaner burn.
Challenges:
- Durability: Lightweight materials may not withstand harsh weather as well as permanent fire pits, and may require more upkeep and cleaning, including regular fire pit ash removal.
- Aesthetic Limitations: Typically offer fewer customization options and may not blend seamlessly with your overall fire pit design.
- Safety Concerns: Less stable on uneven surfaces and more prone to tipping, so always follow fire safety tips and check local fire pit regulations.
- Limited Lifespan: May not last as long as a built-in fire pit and generally won’t add lasting value to your home.
Permanent Fire Pits
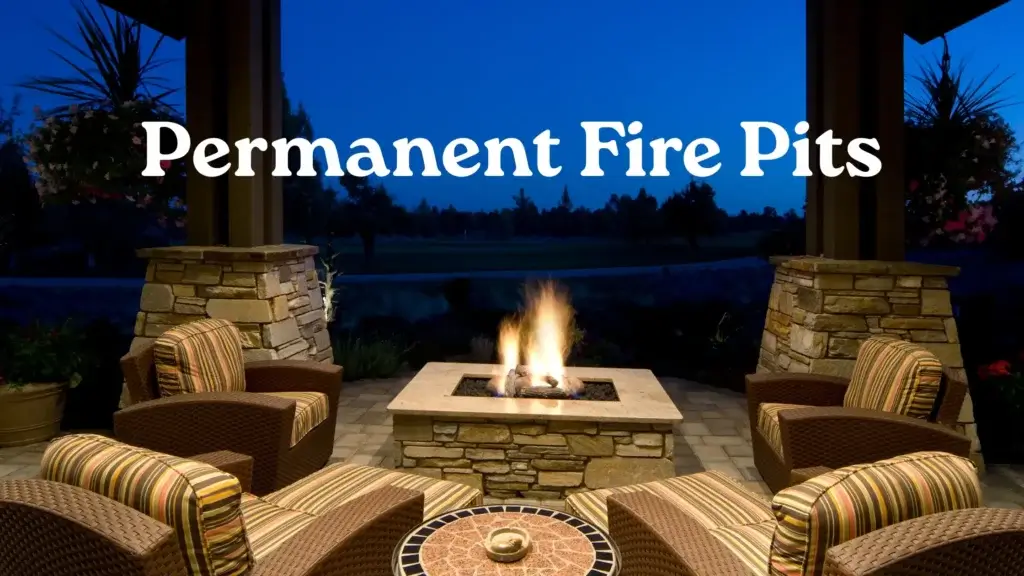
Permanent fire pits are built into your outdoor space, often constructed from brick, stone, or metal, and can be customized to match your landscape and patio fire pit area. These are ideal for homeowners with a dedicated outdoor entertaining area and those looking to add lasting value to their property.
Advantages:
- Durability: Built from high-quality materials like stone, brick, or GFRC concrete, permanent fire pits are made to withstand the elements and last for years.
- Aesthetic Appeal: Customizable designs and finishes can enhance your backyard’s fire pit ambiance and integrate beautifully with your hardscape.
- Long-Term Investment: Adds value to your home and serves as a focal point for outdoor heating and entertaining.
- Consistent Performance: Heavier gas fire pits, in particular, provide a steady flame and heat output, making them reliable for fire pit cooking and gatherings with a fire pit grill grate.
- Low Maintenance: Once installed, permanent fire pits require little maintenance beyond occasional fire pit ash removal and cleaning.
Challenges:
- Limited Mobility: Once installed, a permanent fire pit cannot be moved. This lack of flexibility means you need to be sure about its placement in your backyard fire pit safety and fire pit design plans.
- Higher Initial Cost: Installation and materials can be expensive, and professional installation may be required, especially for gas lines.
- Space Requirements: Takes up a dedicated area in your yard, which may not be suitable for smaller spaces.
- Commitment: Permanent fire pits are a long-term feature; relocating or removing them is not simple if your needs change.
- Compliance: Always ensure your installation meets local fire pit regulations and is permitted during burn bans.
Which Should You Choose?
- Portable fire pits are best for renters, those with limited space, or anyone who values flexibility and easy storage. They’re also ideal for occasional use, outdoor entertaining, and those who want to experiment with different fire pit locations or fuel types such as seasoned firewood or eco-friendly fire logs.
- Permanent fire pits suit homeowners with a dedicated outdoor area, who want to invest in their property’s value and enjoy a custom fire pit design for frequent use and reliable outdoor heating.
No matter which option you choose, always follow backyard fire pit safety guidelines, check local fire pit regulations and burn bans, and practice regular fire pit maintenance to ensure a safe and enjoyable experience.
Gathering Your Fire Starting Materials
Tinder: The Key to Ignition
Tinder is where every fire begins. It’s the stuff that catches fire from a small spark and starts to burn immediately. Without good tinder, you’re going to struggle.
Common types of tinder include:
- Dry leaves or grass
- Wood shavings or chips
- Cotton balls dipped in petroleum jelly
- Paper (newspaper, brown bags, etc.)
The key is dryness. If your tinder is even slightly damp, it won’t catch properly. Collect a decent amount before you start—better to have too much than too little.
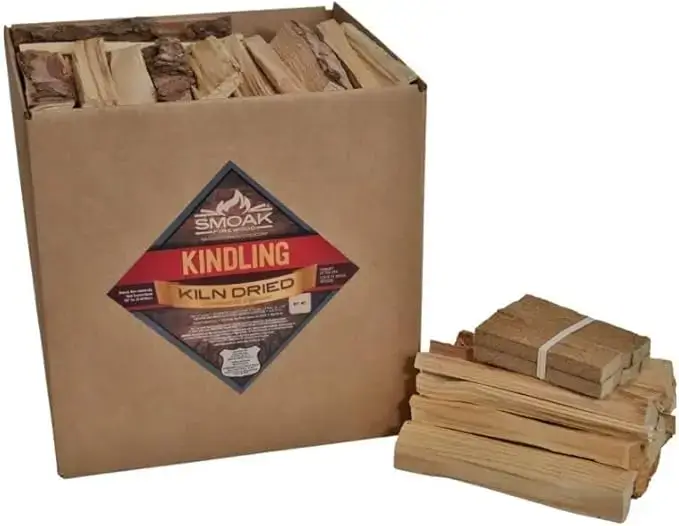
Kindling and Firewood Selection
Once your tinder is burning, it needs help growing into a real fire. That’s where kindling comes in—small sticks and twigs that catch easily and burn hot.
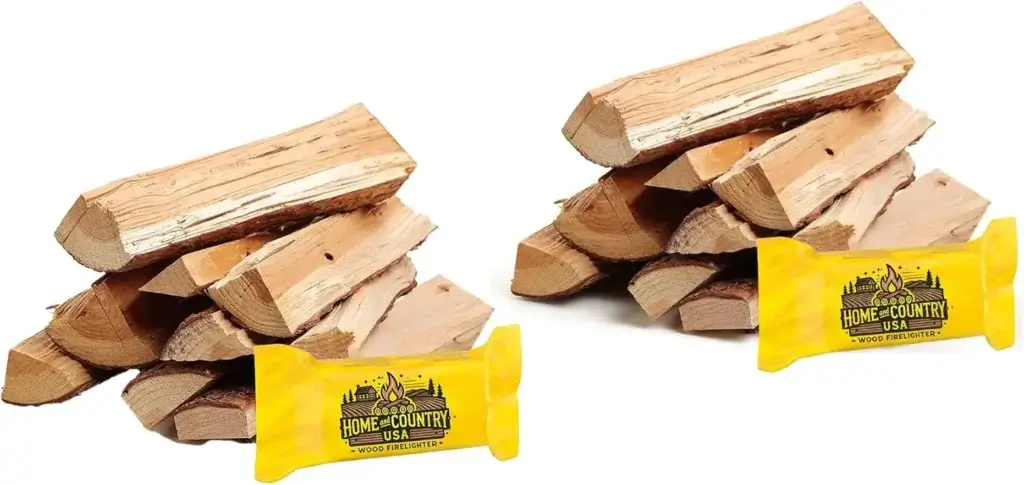
Then comes the firewood, which is your main fuel. Choose seasoned hardwoods like:
- Oak
- Maple
- Hickory
These burn longer and hotter than softwoods like pine, which can pop and send sparks flying.
Pro Tip: Always stack your firewood in a dry place. Wet wood smokes, sputters, and refuses to burn.
Tools You’ll Need
Here’s a quick checklist of gear you’ll want by your side:
- Fire starter (matches, lighter, or flint striker)
- Firewood and kindling
- Tinder materials
- Fire poker or long tongs
- Heat-resistant gloves
- Fire extinguisher or water source
Preparation is everything. With the right tools and materials, you’ll be setting fires like a pro in no time.
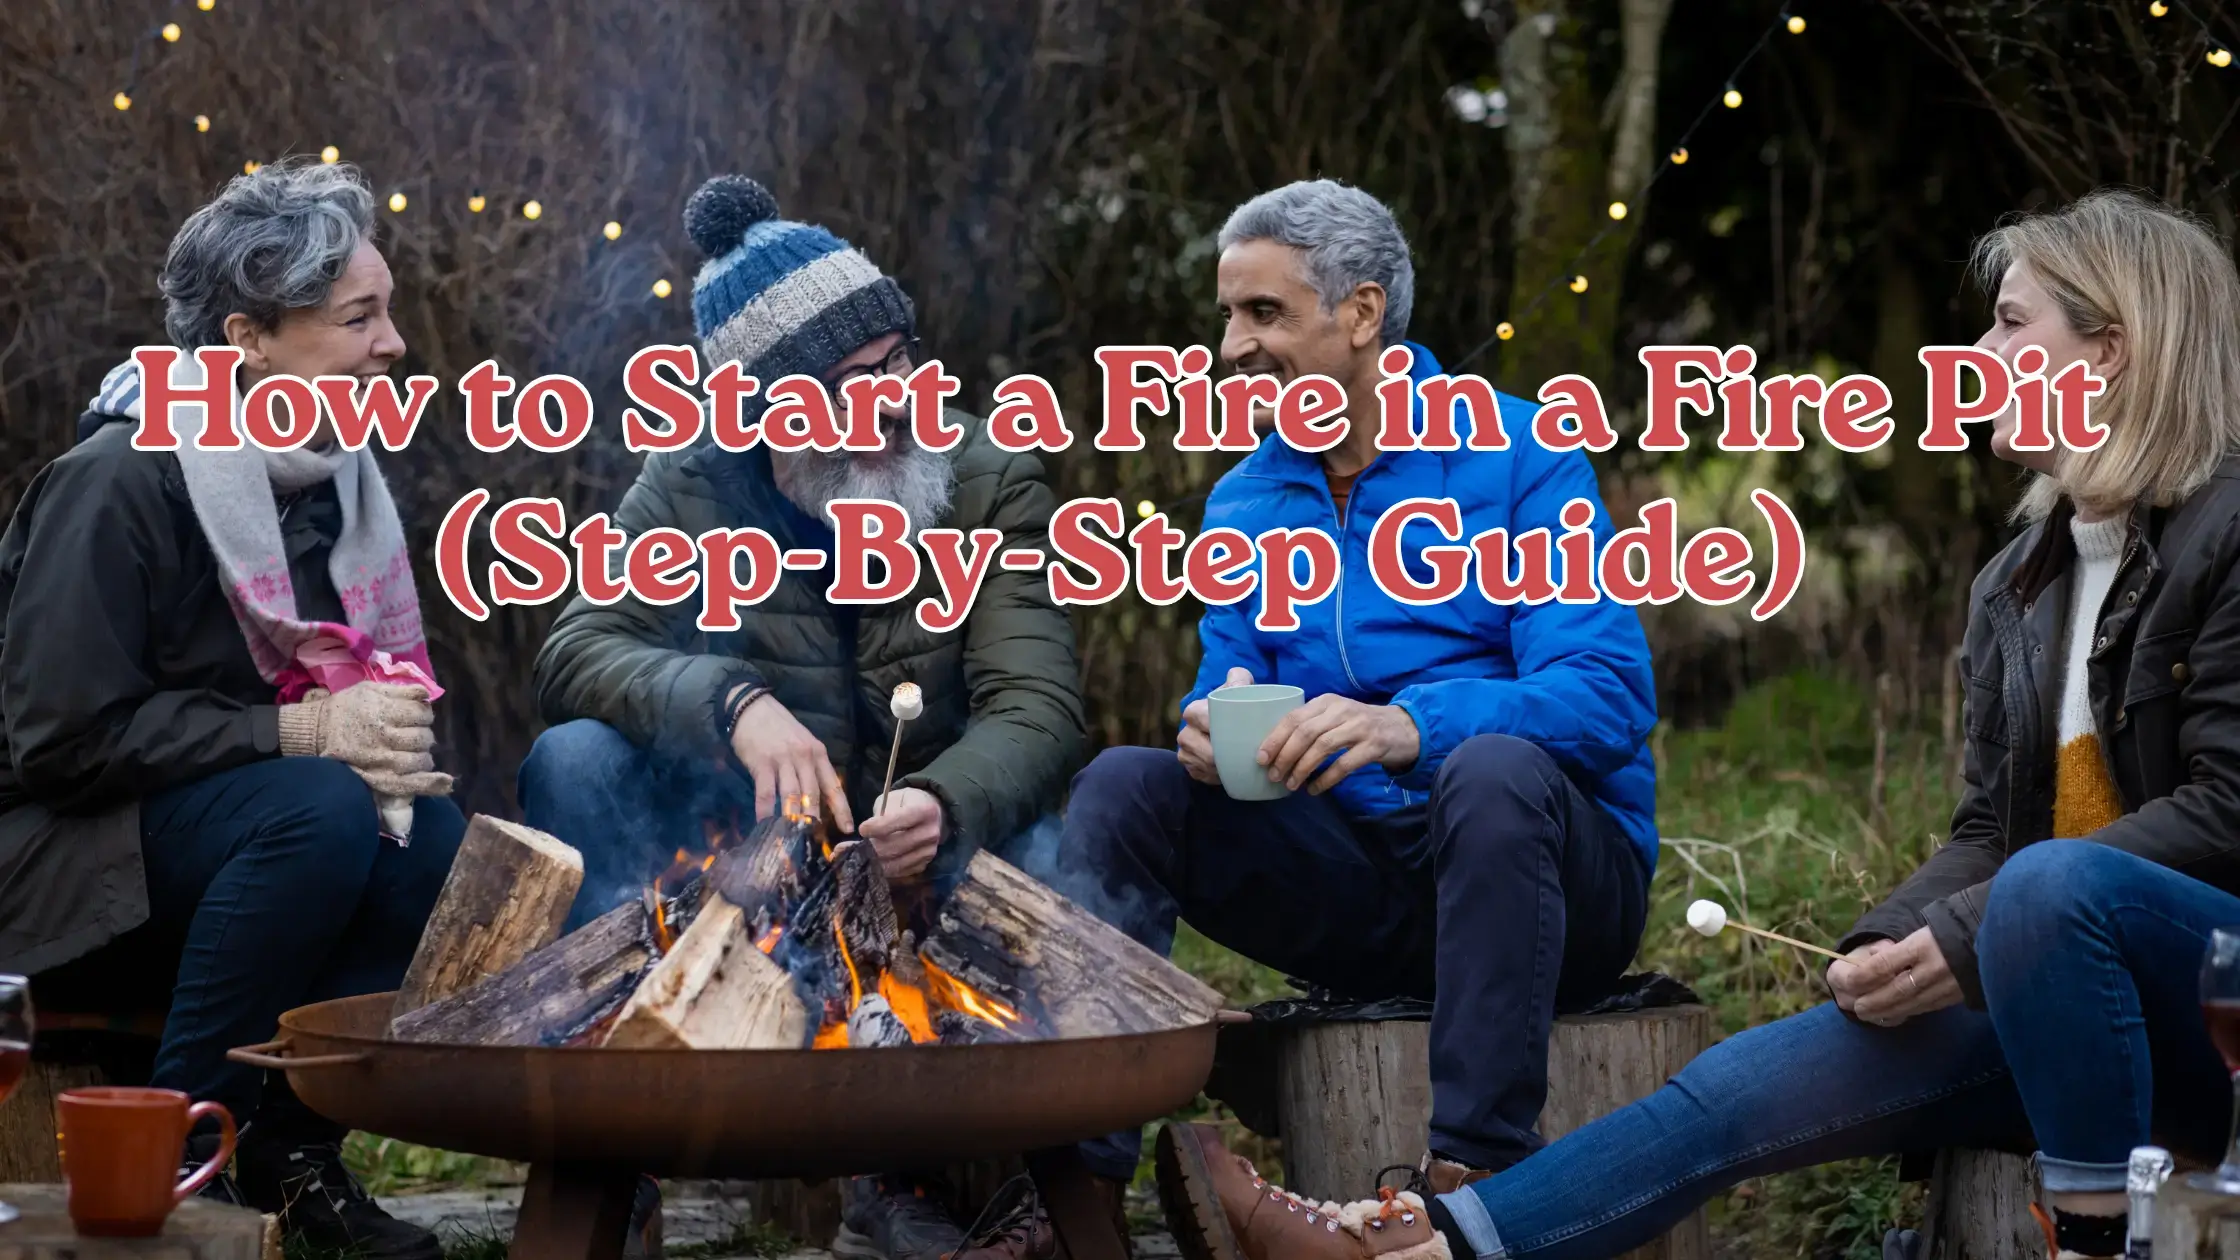
Step-by-Step: How to Start a Fire in a Fire Pit
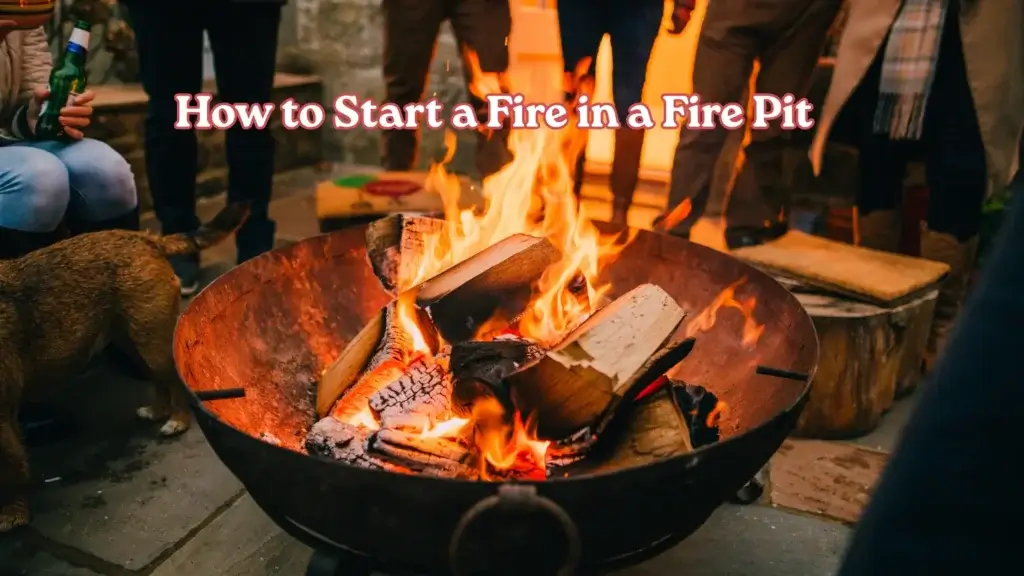
Step 1 – Preparing the Fire Pit
Before you even strike a match, prepping your fire pit properly makes all the difference between a roaring flame and a frustrating fizzle. Start by giving the fire pit a thorough check. If it’s a permanent pit, make sure there’s no leftover ash, debris, or moisture from previous use. For portable fire pits, ensure it’s placed on a level, non-combustible surface.
Lay down a thin layer of sand or gravel at the base of the pit if it’s recommended by the manufacturer—this helps with heat distribution and protects the bottom from intense heat. Next, make sure the pit is dry. Moisture is the enemy of fire; even slightly damp wood or ground can turn your fire-starting attempt into a smoky mess.
Now, assess your surroundings. Ensure there are no flammable items nearby—this includes furniture cushions, hanging plants, or umbrellas. Check the wind direction once again. If it’s a windy day, consider holding off unless you have proper wind protection.
Pro tip: Use a fire ring or bricks to create a safe boundary around your fire area, especially for ground-level pits. This not only improves safety but gives your setup a rugged, campfire-style vibe.
Step 2 – Arranging Your Firewood (Teepee, Log Cabin, etc.)
The way you stack your firewood can be the deciding factor between quick ignition and endless frustration. There are a few popular methods, and choosing the right one depends on your firewood size and experience.
1. Teepee Method:
- Arrange small kindling sticks in a cone or teepee shape.
- Place tinder in the center underneath.
- Stack larger firewood pieces around the kindling as it catches.
- Great for beginners because it lights quickly and burns hot.
2. Log Cabin Method:
- Place two larger logs parallel with a gap in between.
- Layer two more logs perpendicularly across the top, forming a square frame.
- Build a teepee of kindling and tinder in the center.
- This method provides good airflow and a longer-lasting structure.
3. Lean-To Method:
- Place a large log as the base.
- Lean smaller sticks and kindling against it at an angle.
- Place tinder underneath.
- Ideal for breezy conditions, since it shields the flame slightly.
Each method has its own advantages. For most casual backyard fires, the teepee method is quick and easy. The log cabin, on the other hand, gives more structure and a longer burn—perfect for social evenings.
The key in every method is airflow. Don’t overcrowd your materials; fire needs space to breathe. A suffocated fire struggles, smokes, and eventually dies.
Step 3 – Igniting the Fire
Here’s the exciting part—lighting the flame. Using a long-reach lighter or safety matches, ignite your tinder at several points. Don’t just light one spot and wait; hit it from different angles to encourage a consistent burn.
If you’re using a fire starter (like wax cubes or magnesium strips), place it under the tinder before you light up. These tools are incredibly helpful, especially in damp or windy conditions.
As the tinder ignites, it should catch the kindling within 30 seconds to a minute. If it doesn’t, you may need to adjust your setup—perhaps the kindling is too thick, too moist, or blocking airflow.
Stay close and monitor the fire’s development. Feed it gradually. Don’t toss on big logs right away; that’s like handing a toddler a Thanksgiving turkey—way too much, way too soon.
Once the flames are strong and consistent, begin adding larger pieces of firewood. Continue building the fire in your chosen structure (teepee, log cabin, etc.) and make adjustments as needed.
Important: Never use lighter fluid or gasoline in a fire pit. It’s dangerous and unnecessary. With the right technique, your fire will catch naturally.
Step 4 – Maintaining and Managing the Fire
Once your fire is going, keeping it alive is a mix of attention and patience. Think of it as a living thing—it needs to be fed, monitored, and cared for.
Here are some golden rules:
- Add wood gradually. Don’t dump large logs all at once. Add pieces one at a time to keep the airflow consistent.
- Stoke the fire with a poker occasionally to reposition logs and rekindle the flame.
- Watch the flames—if they start to shrink, add more kindling or a small log before it goes out completely.
Keep an eye on the base. You want to see glowing red coals, which means you’ve built a strong foundation. That’s your fire’s “engine,” and it’ll keep your fire running efficiently.
Also, keep your fire manageable in size. A huge blaze might look cool, but it can be unsafe and hard to control. And if you’re cooking over the fire, you’ll want medium-sized flames and a solid bed of coals.
One final tip: enjoy the moment. The fire’s up, the wood’s crackling, and you’re surrounded by warmth and good vibes. This is what the fire pit life is all about.
Fire Safety Tips You Must Follow
Keeping a Fire Extinguisher Nearby
You can’t talk about fire without talking about safety. Even the most beautifully controlled fire pit needs a Plan B. That’s where your fire extinguisher comes in. Every backyard fire pit setup should have one within reach.
Here’s what to look for:
- A Class A or multi-purpose (ABC) fire extinguisher is ideal.
- Check the expiration date.
- Make sure you and your guests know how to use it (remember PASS: Pull, Aim, Squeeze, Sweep).
Alternatively, keep a bucket of water, garden hose, or bucket of sand nearby. Quick access to these can make all the difference in a pinch.
Never Leaving the Fire Unattended
This rule is non-negotiable: NEVER leave a fire pit unattended, even for a minute. Fires can change fast, especially with wind or a sudden burst of fuel. What looks like a safe burn could easily become a hazardous situation.
Make sure someone responsible is always present. If you’re done enjoying the fire, put it out completely. Don’t assume it’ll burn out safely on its own. We’ll cover the correct way to extinguish and clean your fire pit later in the article.
Fire safety isn’t just about protecting your property—it’s about protecting people, pets, and the environment around you.
Best Types of Wood to Use
Hardwoods vs Softwoods: An In-Depth Guide for Fire Pits
Choosing the right firewood for your outdoor fire pit is like picking the best ingredients for a gourmet meal—it makes all the difference for your fire pit ambiance, safety, and efficiency. Not all firewood burns the same, and understanding the difference between hardwoods and softwoods is essential for backyard fire pit safety, effective fire pit cooking, and enjoyable outdoor entertaining.
What Are Hardwoods?
Hardwoods come from deciduous trees—trees that lose their leaves in the fall. Examples include oak, maple, hickory, birch, and cherry. These woods are dense, making them perfect for seasoned firewood storage and long-lasting fires in your patio fire pit or portable fire pit.
Key Characteristics and Benefits of Hardwoods
- Long, Steady Burn: Hardwoods burn longer and provide steady heat, making them ideal for extended outdoor heating and relaxing backyard gatherings.
- High Heat Output: Their density means more heat per log, perfect for chilly nights or when you want consistent warmth.
- Minimal Smoke and Residue: Properly seasoned firewood produces less smoke and leaves behind less ash, reducing the frequency of fire pit ash removal and making fire pit maintenance easier.
- Ideal for Cooking: Woods like hickory and cherry add a sweet, smoky aroma, enhancing your fire pit cooking experience when using a fire pit grill grate.
- Less Frequent Refueling: Because hardwoods burn slowly, you’ll spend less time adding logs and more time enjoying your fire and outdoor entertaining.
Drawbacks of Hardwoods
- Harder to Ignite: Due to their density, hardwoods may require softwood kindling or fire starters to get going.
- Higher Cost and Storage Needs: Hardwoods are often pricier and require dedicated, dry firewood storage to maintain quality.
- Best Used Seasoned: Always use well-seasoned hardwoods for efficient burning and compliance with fire pit regulations and burn bans.
What Are Softwoods?
Softwoods come from coniferous trees—needle-bearing evergreens like pine, fir, spruce, and cedar. These are lighter and less dense, making them easier to ignite and perfect for kindling in your outdoor fire pit or portable fire pit.
Key Characteristics and Benefits of Softwoods
- Quick Ignition: Softwoods light easily, making them ideal for starting fires and building a hot base quickly.
- Bright, Lively Flames: They create tall, crackling flames that enhance your fire pit ambiance for short-term outdoor entertaining.
- Readily Available and Affordable: Softwoods are usually less expensive and easier to source.
- Good for Kindling: Their fast-burning nature makes them perfect for kindling, but not as the main fuel for long-lasting fires.
Drawbacks of Softwoods
- Burn Fast and Hot: Softwoods burn quickly and need frequent refueling, which can increase the need for fire pit maintenance.
- More Smoke and Sparks: High resin content, especially in pine, produces more smoke and popping embers, which can be a concern for backyard fire pit safety and may violate local fire pit regulations.
- Less Heat Over Time: They don’t sustain heat as long as hardwoods, making them less suitable for extended outdoor heating.
- Not Ideal for Cooking: Excessive smoke and resin can impart unpleasant flavors to food, so avoid using softwoods for fire pit cooking.
Best Practices: Combining Hardwoods and Softwoods
For the best fire pit experience and compliance with fire safety tips:
- Start with Softwoods: Use softwood kindling to ignite your fire quickly.
- Switch to Hardwoods: Once your fire is established, add hardwood logs for a long-lasting, steady burn with minimal smoke.
- Enhance Cooking and Ambiance: Use hardwoods like cherry or hickory for cooking and a pleasant aroma, or try eco-friendly fire logs for a cleaner burn.
Additional Tips for Fire Pit Wood Selection
- Always Use Seasoned Firewood: Properly dried wood, whether hardwood or softwood, burns more efficiently and safely.
- Store Wood Properly: Keep your firewood dry and off the ground for optimal firewood storage.
- Check Local Regulations: Always follow local fire pit regulations and burn bans for safe and legal fires in your outdoor fire pit or patio fire pit.
Summary Table: Hardwood vs Softwood for Fire Pits
| Feature | Hardwood (e.g., Oak, Maple) | Softwood (e.g., Pine, Fir) |
|---|---|---|
| Burn Time | Long, steady | Short, fast |
| Heat Output | High, consistent | Hot, but not sustained |
| Smoke & Residue | Minimal | More smoke, more residue |
| Ease of Ignition | Harder | Very easy |
| Best Use | Main fire, cooking, heating | Kindling, quick fires, ambiance |
| Maintenance | Less frequent | More frequent (due to ash/sparks) |
| Cost | Higher | Lower |
Avoiding Treated or Painted Wood
Here’s a common rookie mistake: tossing in any piece of scrap wood you find lying around. Big no-no.
Treated or painted wood may contain chemicals that are toxic when burned. Pressure-treated lumber, plywood, or even stained decking boards can release arsenic, formaldehyde, and other harmful fumes—and nobody wants to breathe that in.
Here’s what to avoid:
- Painted or stained wood
- Plywood or MDF
- Treated lumber from construction
- Any wood with adhesive, nails, or synthetic coatings
Stick with clean, seasoned firewood. It’s safer, smells better, and burns more efficiently. Your lungs (and your neighbors) will thank you.
Enhancing Your Fire Pit Experience
Cooking Over a Fire Pit
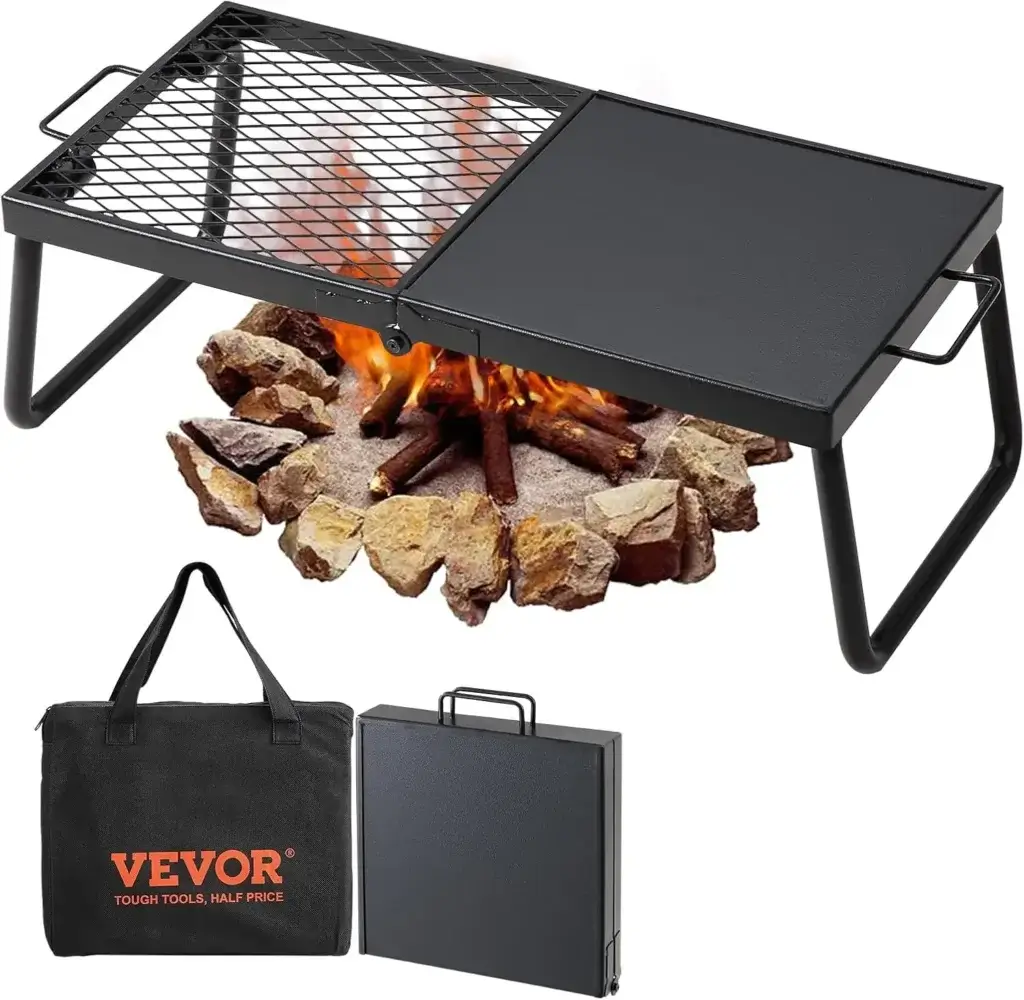
You’ve got the fire going—now it’s time to turn up the fun. Fire pits aren’t just for warmth; they’re incredible for outdoor cooking. And no, you don’t need a fancy grill to whip up something delicious. VEVOR Folding Campfire Grill, Heavy Duty Steel Mesh Grate
Here are some fire pit favorites:
- S’mores (classic combo of graham crackers, chocolate, and toasted marshmallows)
- Hot dogs on skewers
- Foil-wrapped veggies and potatoes
- Campfire popcorn
- Grilled kebabs or sausages
Pro tip: Invest in a fire pit grill grate or tripod setup. This allows you to cook over the flames evenly without charring your food.
Make sure to build a solid bed of coals if you’re planning to cook. Direct flames can be unpredictable, but coals provide consistent, even heat.
Just remember—safety first. Use long-handled tools and heat-resistant gloves to handle food and cookware around the fire.
Ambience and Outdoor Decor
Your fire pit setup can be more than functional—it can be magical. Want to turn your backyard into an Instagram-worthy hangout? It’s all about ambience.
Here are a few ideas:
- String lights or lanterns for a soft glow
- Comfy outdoor chairs and cushions
- Side tables for drinks and snacks
- Outdoor rugs (fireproof or placed away from the pit)
- Blankets and throws for chilly nights
Add in some soft background music, a few candles, and maybe a warm drink—and you’ve created an outdoor oasis that’ll make your friends never want to leave.
Your fire pit is the centerpiece, but the surrounding environment brings the full experience to life.
Common Mistakes to Avoid
Using Wet Wood
One of the fastest ways to ruin a good fire? Wet wood. If your firewood isn’t properly seasoned (i.e., dried out), it will:
- Smoke excessively
- Struggle to catch fire
- Burn unevenly or go out entirely
Wet wood contains too much moisture, which turns to steam instead of flame. This not only chokes your fire but can cause a lot of sputtering and hissing—not ideal for ambiance or cooking.
Always store your firewood in a dry, covered area off the ground. Use a firewood rack and tarp if you’re storing it outdoors. And if you’re buying wood, ask if it’s been seasoned for at least 6–12 months.
Skipping Safety Measures
Even seasoned fire lovers sometimes get too comfortable. But overlooking basic safety can lead to major trouble.
Common missteps include:
- Not checking wind conditions before lighting
- Leaving the fire unattended
- Building fires too big for the pit
- Not having an extinguisher or water nearby
- Letting kids or pets too close to the flame
These aren’t just little slip-ups—they’re fire hazards. Respect the fire, and it’ll give you warmth and joy. Ignore it, and you could end up with damage or injury.
Be smart, stay alert, and keep things fun and safe.
Cleaning and Maintaining Your Fire Pit
Ash Removal Tips
After a great night around the fire, you’ve got one job left: cleanup. Leaving ash in your fire pit might seem harmless, but it can attract moisture and corrode the base over time.
Here’s how to do it right:
- Let the ashes cool completely—this could take 12 to 24 hours.
- Use a metal scoop or shovel to remove the ashes.
- Place them in a metal container with a lid. Never use plastic.
- Dispose of ash properly—some people even use it in their gardens (in small amounts).
Don’t forget to clean the air vents or drainage holes if your fire pit has them. Clogged vents reduce airflow and make it harder to light future fires.
Rust Prevention and Seasonal Storage
Whether you’ve got a cast iron, steel, or copper fire pit, rust is the enemy. Moisture + metal = corrosion over time.
To protect your fire pit:
- Use a weatherproof cover when not in use.
- Apply a heat-resistant paint or protective sealant.
- Store portable fire pits in a dry shed or garage during rainy seasons.
- Regularly check for signs of rust and treat small spots before they spread.
Routine maintenance helps your fire pit last longer and perform better. Treat it like an outdoor investment—and it’ll serve you for years to come.
Legal and Environmental Considerations
Burn Bans and Fire Pit Restrictions
Before you light anything, make sure you’re allowed to. Many areas implement burn bans during dry seasons to prevent wildfires. Violating these rules isn’t just risky—it could get you a hefty fine.
Always check:
- Local fire department or city website
- HOA or neighborhood association guidelines
- National park or campground rules if you’re away from home
Even during legal burn periods, you may be required to use a screen cover, limit the fire size, or only burn at certain hours.
Being Environmentally Conscious
A good fire pit owner is also a good neighbor—and a responsible citizen of the planet.
Here are a few ways to reduce your fire’s environmental impact:
- Use clean-burning wood—no trash, plastics, or treated materials.
- Keep fires small and efficient to reduce smoke pollution.
- Burn only dry, seasoned wood for cleaner combustion.
- Consider eco-friendly fire logs made from recycled materials.
Respect nature, and it’ll keep rewarding you with those perfect fire pit nights.
Conclusion
Starting a fire in a fire pit is a skill that blends technique, preparation, and a bit of outdoor savvy. With the right tools, the proper setup, and a respectful approach to safety and the environment, you can turn any backyard into a warm, inviting gathering spot.
Whether you’re out for s’mores, stories, or simply soaking in the heat of a crackling flame, the steps you take before lighting the match make all the difference. From choosing the perfect wood to understanding airflow and fire structures, this guide gives you everything you need to light up your nights—literally.
So go ahead—get that fire started, kick back, and enjoy the glow.
FAQs
1. Can I use lighter fluid in a fire pit?
No, you should never use lighter fluid in a fire pit. It can be extremely dangerous and release toxic fumes. Stick with natural fire starters or kindling.
2. What is the easiest method to start a fire?
The teepee method is often the easiest for beginners. It provides excellent airflow and ignites quickly with the right tinder and kindling.
3. How long does it take to build a good fire?
From setup to a strong blaze, it typically takes 15–30 minutes, depending on your wood and technique.
4. Is it safe to leave a fire pit burning overnight?
Absolutely not. Fires should always be extinguished completely before going to bed or leaving the area.
5. What is the safest fire pit for beginners?
Wood-burning fire pits with spark screens and stable, enclosed bases are ideal for beginners. Portable metal models are also a great start.

My name is Mahi Uddin, and I’m a blog writer with over two years of experience specializing in creating engaging, informative content using AI tools. I contribute to InExDecor.com, where I share creative ideas and practical tips for transforming interior and exterior spaces into beautiful, functional environments. With a passion for storytelling and a knack for blending creativity with technology, I strive to craft blogs that not only inform but also inspire readers. When I’m not writing, you can find me exploring design trends or enjoying a good book with a cup of coffee.